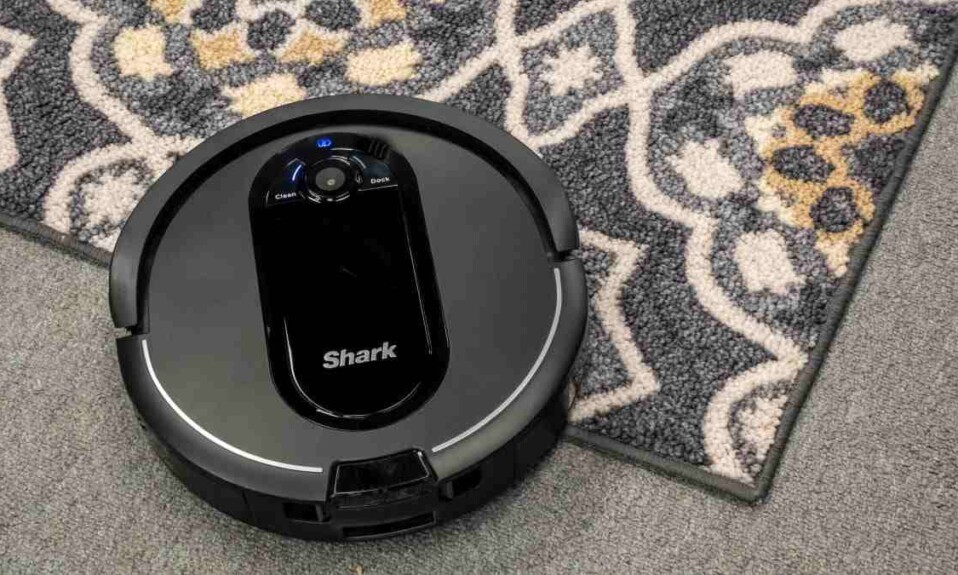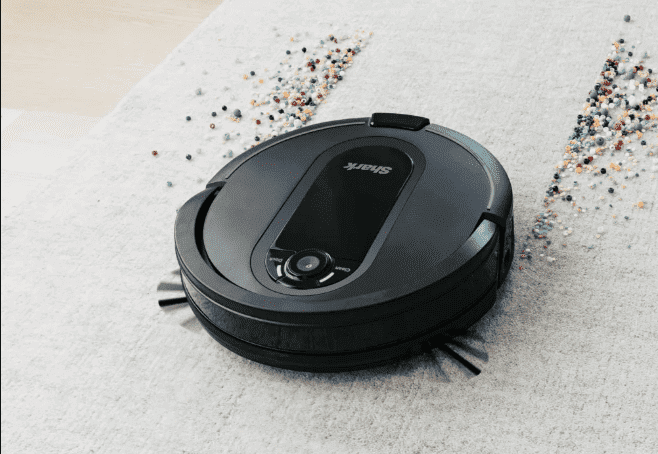
The Shark robot vacuum’s mapping function scans each room by starting from the center and identifying walls, doors, and how furniture is arranged.
Once the Shark vacuum has completed scanning all the rooms, it’ll return to its base and generate a detailed map of your house, which will be displayed on the Shark Clean app.
With this map, your robot can effortlessly navigate through your floors, resulting in a more efficient and thorough cleaning experience.
Sometimes users look at the map scanned by their robot and notice that the device didn’t scan the house properly and many areas and corners were missed in the process.
So how to solve this problem?
In this post, I’m going to show you the tips you can do to get your Shark robot to properly map your home without missing a corner.
Sommaire
How To Fix Shark Robot Vacuum Not Mapping All The House?
Mapping issues can occur for many reasons, including a physical obstruction preventing the robot from moving properly, power issues, or internal software errors.
Keep reading as I’m going to show you effective things you can do to fix your map.
Tip 1: Remove Any Obstacles.
To ensure a successful mapping process, it’s crucial to remove all physical obstacles that might prevent the robot’s movement.
Objects such as wires, children’s toys, and high-pile carpets may block the vacuum’s view and prevent proper navigation.
Also, make sure all doors are open in order to allow your vacuum cleaner to move from one room to another and scan every corner of your home accurately.
By following these simple steps, you can help the device move freely and achieve seamless mapping results.
Tip 2: Make Sure The Robot is Fully Charged.
The second thing to check before starting the map scanning task is to make sure that the Shark vacuum battery is fully charged.
Why is this important?
It’s essential to charge your Shark vacuum’s battery before mapping your floor to prevent your device from dying in the middle of the scanning process, resulting in an incomplete house map.
I won’t talk much about how to charge your battery, but if you’re having any trouble with this, then I recommend this article: “9 Ways To Fix Shark Robot Vacuum Charging Problems”.
Tip 3: Update The Shark Clean App.
The Shark Clean app plays a vital role in managing and displaying the map uploaded by your robot vacuum. Its proper functionality is crucial to the optimal operation of your device.
So, if you see any errors or missed areas on the map, it might be due to an issue within the mobile app.
An outdated software version is one of the main reasons that can trigger this type of problem. It’s therefore important to keep it updated in order to enjoy a good user experience and have a whole house map without any miss.
Update the Shark app on Android:
- Open the Google Play Store app.
- Tap Menu, then my apps & games.
- Find the SharkClean app and tap Update.
Update the Shark app on IOS:
- Go to the App Store.
- At the bottom right of the screen, tap Search.
- Tap your account.
- Find the app and tap update.
Tip 4: Repeat The Scanning Process.
As we mentioned earlier, as soon as the robot Shark completes its exploration run, it will return to its base and generate a map and display it on the app.
Once you see the map, you can confirm if it’s an accurate representation of your home, or you can repeat the scanning task if it’s inaccurate and there are a lot of missed corners or rooms.
To repeat the process go to the map located in the menu bar of the Shark Clean app and restart the explore run.
For additional details, you can edit the map once it’s generated by tapping the EDIT MAP button and adding a box by pressing the plus button. You can resize and reposition the box by touching and dragging its corners.
To add more detail, zoom in on the map and position the box over the room you want to label. Tap the text button to name the area, and you’re done!
Tip 5: Reset Your Shark Robot.
The last recommendation we have in our article is to reset your Shark robot vacuum. This trick is a popular fix for common problems with electronic devices.
By doing so, you can effectively eliminate all internal bugs and errors from your Shark robot and ensure that it can accurately scan your home.
The only thing you need to keep in mind, and this is a downside for many users, is that a factory reset will remove all settings, preferences and integrations from your robot.
Here’s how to reset the Shark Robot Vacuum from the app:
- Open the SharkClean app on your mobile or tablet.
- Then go to Settings and click on the Factory Reset option.
- The Shark robot will restore itself to its factory settings. (The procedure can take a few minutes).
and here’s how to reset it manually:
- Locate the POWER switch on the side of the Shark robot.
- Switch the POWER switch to OFF.
- Wait for at least 10 seconds before turning the Shark robot back on.
- The Shark robot has been rebooted.
Conclusion.
Finally, if you’ve tried all the troubleshooting tips mentioned earlier and you’re still experiencing issues with your Shark robot vacuum map, don’t hesitate to contact their technical support team for further assistance.
You can also visit other articles in our blog section to read more about troubleshooting tips related to the Shark vacuum.
- Does Ring Camera Work Without Subscription? - January 23, 2024
- How To Secure Ring Camera From Hackers? - January 15, 2024
- Ring Camera Not Picking Up Motion? – (Here’s The Solution). - January 11, 2024


