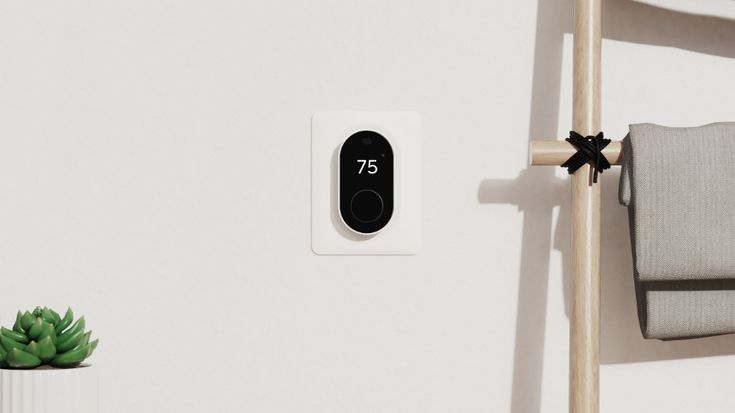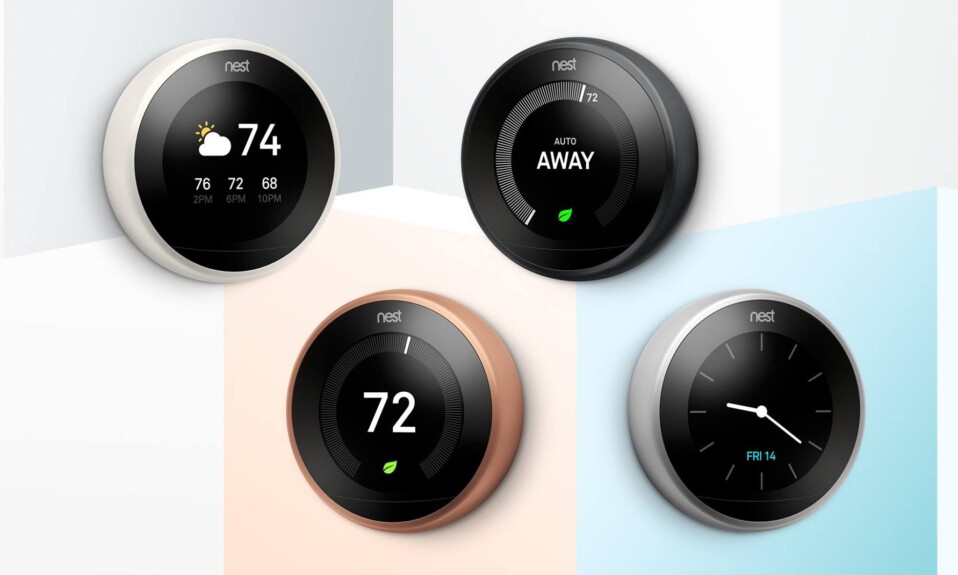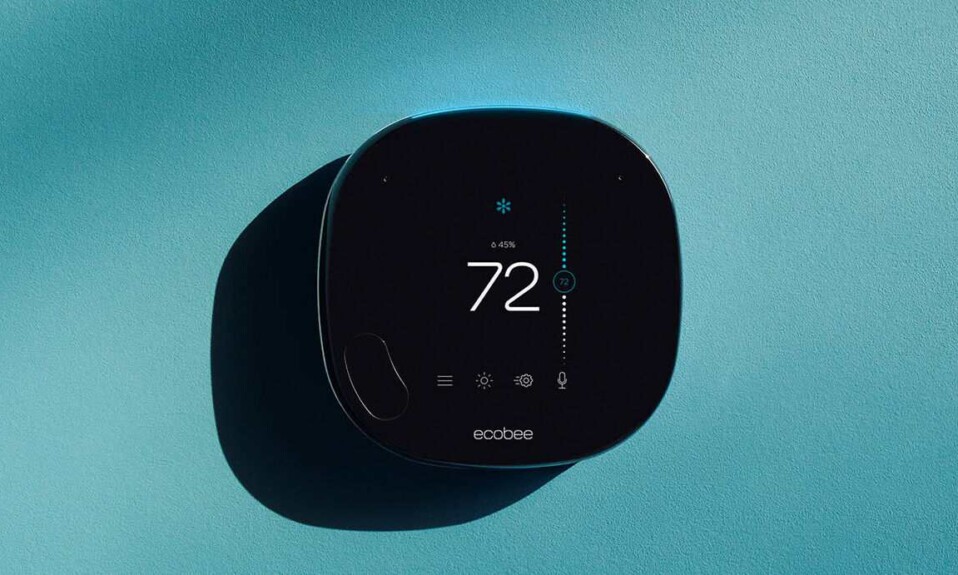
Are you considering the purchase of a Wyze thermostat and wondering whether it requires a C-wire for operation? You’re not alone, many people around the internet have the same question.
The answer is straightforward: Yes, the Wyze thermostat requires a C-wire to ensure a continuous power supply, keeping its display and Wi-Fi capabilities running seamlessly 24/7.
For those who don’t already have this essential wire installed, fret not. The Wyze thermostat package includes a C-wire adapter, ready to step in and bridge the gap.
In this article, we’ll talk more about the role of a C-wire, guide you on how to check if your home is equipped with one, and offer practical solutions for those facing the absence of this crucial component.
Sommaire
What’s a C-wire and why it’s important for your Wyze thermostat?
The C or Common wire is a little cord that wasn’t considered essential in the old school thermostats as they relied on the R wires to get the required power to run your HVAC system.
But the new models like Wyze are smart and different and they need to be connected to Wifi and the display needs to stay on all the time to adjust the temperature automatically or send you notifications and allow you to control it remotely from your smartphone, which makes the R wire not sufficient as it won’t provide continuous power.
So here is where the C-wire role comes in and will complete the circuit from the R wire and keep your thermostat running all the time.
Wyze knows well that not all users have this wire already installed so they included a C-wire adapter that replaces the need for a C-Wire.
The C-wire Adapter is compatible with systems with no C wire but does have at least a G and Y wire.
How do I know if I have a C-wire?
As we mentioned before a C-wire wasn’t mandatory in the previous generation of thermostats so you may not find it even if you have a thermostat already installed in your house, so here’s how to know if you own a C-wire:
Caution: Make sure to not touch the wires with your hands or turn off the power from the circuit breaker to avoid any electrical shock.
- Detach your existing thermostat from the wall, you’ll see different wires connected to the labeled terminal.
- You’ll see different letters like R, Rc, Rh, G, W, Y each one of these has its own function but if you see a wire connected to the C terminal that means you have a C-wire.
- Sometimes you’ll not see the C-wire but it can be found tucked behind the back of the thermostat.
Note: Don’t focus on the color because the C-wire isn’t a standardized color so it’s different from one HVAC to another, but generally it’s black or blue.
What to do if you don’t have a C-wire?
You can solve this issue by connecting a new wire between the furnace and your Wyze thermostat (your furnace needs to have a C terminal).
I’m not going to teach you how to add a C-wire to your HVAC system because I’m not an expert on that but you can do some web searches to find more information about this process.
Warning 1: This process will require you to turn OFF power to your HVAC system before connecting or running any wiring.
Warning 2: If you’re not comfortable with wiring tasks and you’re not a Do-It-Yourself person I recommend hiring an HVAC professional to do this task.
How to Connect the Wyze thermostat using a C-wire adapter?
As we said before the Wyze thermostat comes with a C-wire adapter in the box destined to the category of people who don’t have a C-wire installed in their house.
Tools needed: Phillips screwdriver, Flathead screwdriver (optional), and a Drill (optional).
Important: The C-wire Adapter (CWA) is compatible with systems with no C wire but does have at least a G and Y wire.
Now follow the next steps carefully to install your Wyze thermostat using a C-wire adapter:
- Turn off the power of your HVAC system on the circuit breaker.
- take a photo of your existing wiring and ensure that the image shows the letters identifying the terminals and the color of the wires.
- Label and disconnect each wire.
- To install with CWA, you must disconnect the 4 wires from the control board and connect them to the CWA. Label the wires Y, G, R, and W.
- Note: If you don’t have a W wire, the system is still compatible. R can also be Rc.
- Using the old thermostat base as a guide, put the provided sticky label on each wire as you disconnect it.
- Make sure all the wires are disconnected from the old thermostat.
- Important: Label wires according to old thermostat terminal designations, NOT by wire color.
- Find your control board.
- It will be near your HVAC system, usually in the basement. If you have a furnace, you will need to open your system’s cover.
- Take photos of your current control board wiring.
- Make sure you can see the terminal letters and identify the color of the wires in the photo.
- Label the wires.
- To install the CWA, you must disconnect the 4 wires from the control board and connect them to the CWA.
- Label the wires Y, G, R, and W.
- Note: If you don’t have a W wire, the system is still compatible. R can also be Rc.
- Disconnect the labeled wires from the control board.
- You may need to loosen the screw holding the wire to the control board.
- Connect the labeled wires from the control board to the CWA.
- Use the screwdriver to tighten the screw after inserting each wire to ensure it is secure.
- Connect the wires from the CWA to the control board.
- Match the wire to the control board terminal and make the connection. Make sure to tighten the screw.
- Replace the control board cover.
- To install with CWA, you must disconnect the 4 wires from the control board and connect them to the CWA. Label the wires Y, G, R, and W.
- Disconnect and remove your old thermostat.
- After all wires are labeled and disconnected, remove the old thermostat back panel by unscrewing it from the wall.
- Make sure the wires do not fall back into the wall.
- Mount your Wyze Thermostat back panel.
- Thread the wires through the center of the back panel (wall cover is optional).
- Hold the back panel to your wall, use a pencil to mark the holes for your thermostat to be placed.
- Drill mounting holes for the drywall anchors (e.g., 3/16 inch holes for drywall)
- Use the drywall anchors and screws supplied to mount the back panel to the wall. Keep the bubble on the built-in level centered to make sure your thermostat is placed level.
- Important: You may use your existing wall anchors. Hold the back panel up against the existing anchors to check for alignment.
- Connect the wires to your Wyze Thermostat.
- Push down on the levers to insert the wires into the inner holes of their corresponding terminals on the wall panel (only one wire per terminal) until it is firmly in place.
- Gently tug on each wire to verify they are securely connected. To release the wires again, push down on the terminal levers.
- Important: Make sure the wires have at least 1/4” of wire exposed for inserting to the back panel terminals.
- Attach Wyze Thermostat to the back panel.
- Push excess wires back into the wall and snap your Wyze Thermostat into the back panel. After you hear it “click,” your Wyze Thermostat is ready for setup.
- Turn on the power to your heating/cooling system.
- On the circuit breaker or where you powered off your system, turn on the power.
- Wait a moment for the Wyze logo to appear on the thermostat’s screen. It is now in pairing mode, and ready to finish set up!
Source (Wyze)
Conclusion.
This article showed you how to deal with the Wyze thermostat when you don’t have a C wire inside your home, so if you have additional questions, you can visit other articles on our website or contact Wyze Customer Service.
- Does Ring Camera Work Without Subscription? - January 23, 2024
- How To Secure Ring Camera From Hackers? - January 15, 2024
- Ring Camera Not Picking Up Motion? – (Here’s The Solution). - January 11, 2024


