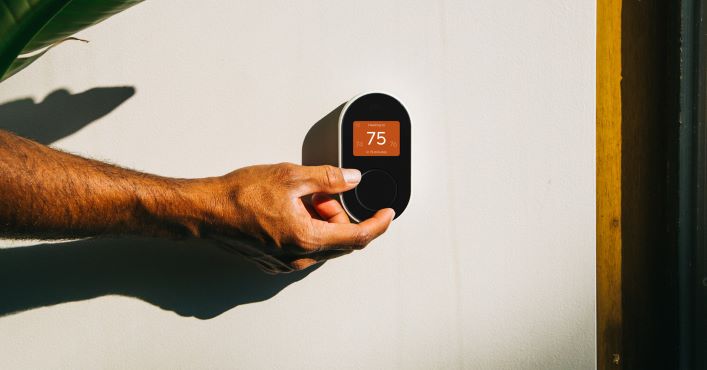
Is your Nest Thermostat failing to keep your home cool and comfortable, leaving you in the sweltering heat?
It can be incredibly frustrating when your trusted thermostat leaves you in the heat, especially during scorching summer days.
My goal in this article is to lead you through different tips and solutions you can implement in order to tackle the problem of a Nest Thermostat that’s not cooling as it should.
So, let’s dive into this journey together and explore solutions that will keep your device working properly, ensuring your home stays comfortably cool.
Sommaire
Ways To Fix Nest Thermostat Cooling Issues.
Before we dive into the nitty-gritty of solving the Nest Thermostat cooling issue, let’s quickly highlight the key solutions we’ll explore.
First, we’ll ensure that your thermostat is set to the correct cooling temperature. We’ll also talk about internal software glitches that might be causing the problem.
We’ll examine the wiring to ensure everything’s in order and emphasize the importance of maintaining a clean air filter. These steps will put you on the path to a comfortably cool home.
Solution 1: Check The Temperature Set.
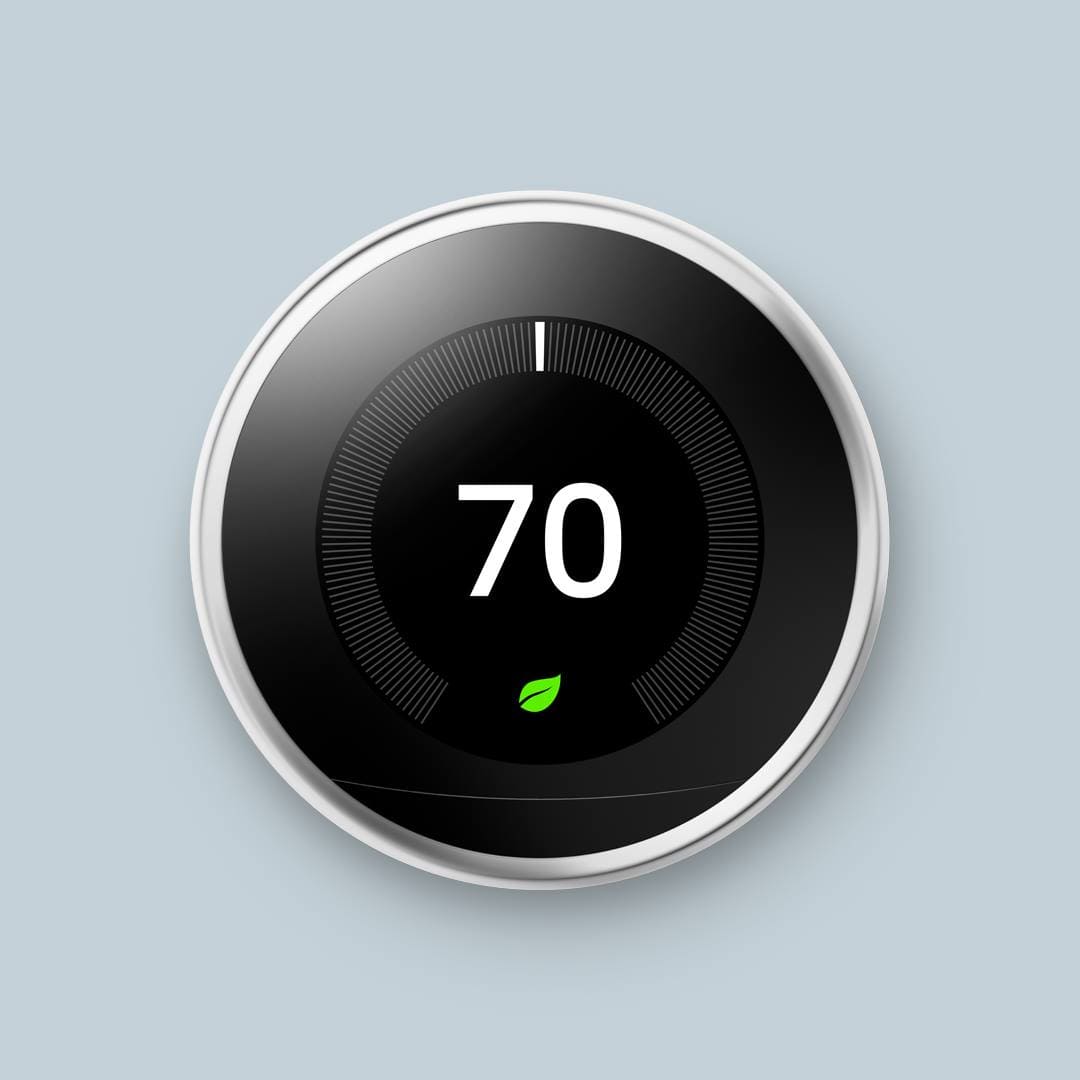
The first thing to start with is to check if the device is operating in the cooling mode, you check that directly from the thermostat or on the Google Home app.
If the thermostat is in the heating mode make sure to move it to the cooling mode and also lower the temperature a bit because sometimes the outside temperature is too high and the AC can’t keep up with the actual weather.
I also recommend testing the accuracy of the temperature by checking the ambient temperature using a thermometer.
If you find a big difference (above 3°C) it means your device needs troubleshooting. Here’s an article that shows you how to fix that: “Nest Thermostat Reading Wrong Temperature”, This article will walk you through the steps to get your thermostat’s accuracy back on track.
Solution 2: Power Cycle The Nest Thermostat.
If you check the temperature and everything is fine, I suggest rebooting your Nest thermostat. This simple step may seem like a basic solution, but it often clears up minor software bugs and helps your device get back to working properly.
By cycling the power, you are essentially giving your device a “refresh,” allowing it to start anew.
Here’s how to cycle your Nest Thermostat:
- Locate the breaker that powers your HVAC system and turn it off.
- Wait 30 seconds.
- Then turn the breaker back on.
Solution 3: Keep The Thermostat Updated.
Keeping the thermostat updated with the latest software released by the manufacturer is also important because a new update will fix internal software errors that may cause issues to the device.
Note: Your thermostat can automatically install the update. You don’t need to do anything. If you prefer, you can manually update the software on your thermostat, and here’s how:
For the Nest Thermostat E or Nest Learning Thermostat:
- From the Quick View menu on your thermostat, select Settings.
- Choose Software then tap on Update.
For the Nest Thermostat:
- From the home screen on your thermostat, select Settings.
- Go to Version and tap on Update.
Solution 4: Check Your Wires.
It is crucial to install the wires correctly because any misstep can lead to unwanted consequences such as tripped circuit breakers, potential damage to your thermostat, electrical system, or even your AC/furnace unit.
So it’s wise to consider hiring an electrician for the installation process, or if you’re a confident DIYer, follow this guide closely and don’t forget to switch off the power at the circuit breaker to eliminate any risk of electrical shock during the process.
You can also follow these instructions to check if your Nest thermostat wires are setup correctly:
- Turn off the power to your system at the circuit breaker.
- Pull off the Nest thermostat display.
- Check that all connectors that have wires are down.
- If needed, re-insert wires so that the connector button stays fully pressed down. If the button isn’t down, your Nest thermostat won’t know there’s a wire in the connector.
- You may need to re-strip and straighten the wire ends so that they can be fully inserted into the Nest base’s connectors.
Solution 5: Clean or Replace Your Air Filter.
Another reason that may cause the Nest thermostat cooling issues is a dirty air filter, so make sure to check it clean it and replace it if necessary.
Why?
A clean air filter allows for optimal airflow through your AC system. When the filter is clogged with dirt and debris, it restricts airflow, causing your AC to work harder to cool the air.
A clean air filter will also improve air quality, reduce energy consumption and extend the AC lifespan.
Note: Nest thermostat has a filter reminder feature which can help you keep track of when to change your system’s air filter. Each time you change your system’s air filter, you should reset Filter Reminders so your thermostat will know when to send the next one.
Solution 6: Reset The Thermostat.
The sixth solution in our article is to reset your thermostat, this will restore the device to its original manufacturer settings, effectively erasing all user data, configurations, and personalizations made to the gadget since it was first set up.
This process will help you fix software glitches that might lead to cooling issues and improve the performance of your Nest thermostat so it can work as expected.
Here are the steps to follow in order to reset the device:
- Press your thermostat ring to open the Quick View menu.
- Choose the Settings Nest settings icon.
- Turn the ring to Reset and press to select.
- Then select All Settings to reset all your Nest device settings.
Solution 7: Contact Nest Support or Call a Technician.
If you’ve tried the troubleshooting tips provided, and your Nest thermostat is still not cooling your home as expected, it’s time to reach out to the Nest support team, who can provide you with further assistance.
Alternatively, if the problem persists and you suspect there may be underlying HVAC system issues, it’s a wise decision to hire a certified technician.
A professional technician can conduct an on-site inspection of your HVAC system to diagnose and resolve any potential hardware or installation problems.
Final Words.
Make sure to implement the solutions mentioned in this article one by one until you find the root cause of your issue and fix it.
Also, ensure to not mess with your HVAC system if you’re not a confident DIYer in order to avoid electric shock or damage to your unit.
- Does Ring Camera Work Without Subscription? - January 23, 2024
- How To Secure Ring Camera From Hackers? - January 15, 2024
- Ring Camera Not Picking Up Motion? – (Here’s The Solution). - January 11, 2024


