
The Nest thermostat, like any other electronic device inside your home, sometimes encounters technical problems that can disrupt your comfort.
It’s important to note that these issues don’t necessarily reflect a faulty or poor quality device.
A common frustration Nest Thermostat users may encounter is its inexplicable refusal to heat, even though it says otherwise.
If you are facing this problem then you are not alone as many people are looking for a solution to this problem.
In this blog post, I’m going to walk you through the solutions you can use to fix this issue and you can consider this post as a guide whenever you encounter this problem.
Sommaire
Tips & Tricks To Fix Nest Thermostat Not Heating.
There are many reasons that can cause your thermostat to stop heating, including an incompatible system, incorrectly inserted wires, the system needs maintenance, hardware issues, and more.
Another popular reason for the thermostat to not heat is that it is actually reading a wrong temperature, you can check out this blog post to get more info about this.
Tip 1: Check that you have a compatible system.
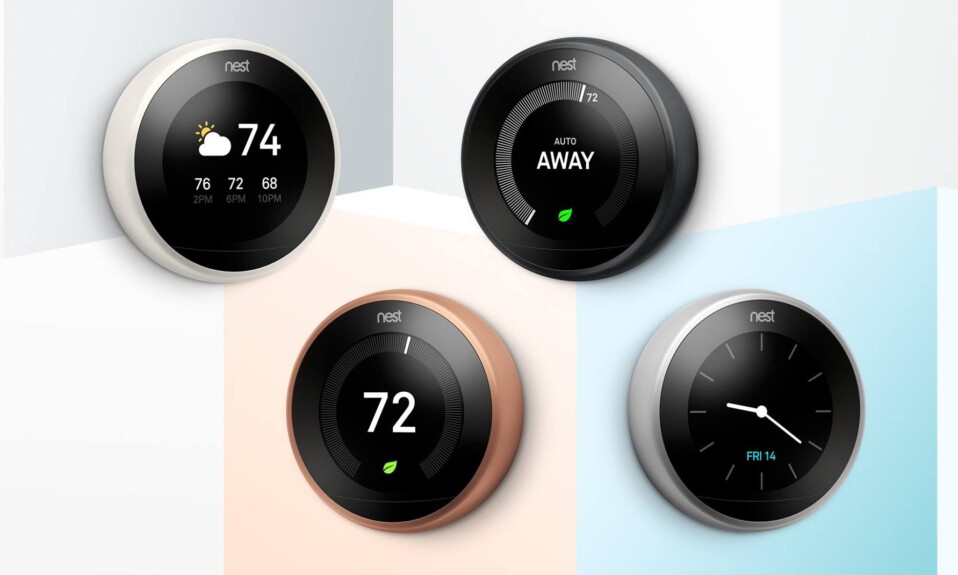
According to Google, the Nest thermostat and Nest thermostat E are compatible with 85% of systems while the Google Nest Learning Thermostat is compatible with 95% of systems (These devices are designed to work with most 24 V systems, even older systems. They work with all common fuel types including natural gas, oil, and electricity).
Although it is compatible with the majority of systems, it is still possible that you are using a particular model from a manufacturer that is not compatible (An incompatible system can cause the thermostat to not heat).
To be absolutely certain, use the Compatibility Checker tool that contains all the needed instructions to check if your heating system is compatible with Nest thermostat.
Tip 2: Power Cycle the thermostat.
If the system is compatible but your thermostat is not heating, I recommend rebooting it as this process is easy to do and can fix bugs that currently exist in the device.
Any gadget that has been running for a long time may experience issues and a quick reboot can be the perfect thing to bring it back to its normal state.
Here’s how to reboot the Nest Thermostat from the app:
- Go to the Settings.
- Select Restart (If you own a Nest thermostat mirror version).
- Or Select Reset then choose Restart (If you own a Nest learning thermostat or E version).
Tip 3: Update The Nest Thermostat.
Heating problems can also be triggered by a software glitch that exists in the Nest thermostat, so I recommend that you update your gadget to fix the bugs and all the existing issues.
Here’s how to update the Nest Thermostat on your mobile app:
- Go to the mobile app.
- Choose your thermostat.
- Then select the Settings.
- Tap on Version or Software and click on Update.
Tip 4: Check Your Wiring.
When you install the Nest thermostat you need to install some wires including one for the power, a wire for fans, another one for heating, a wire for cooling, and a C-wire.
These wires need to be installed properly otherwise an electric shock can cause the circuit breaker to trip, damaging the thermostat unit, the electrical system, or even the AC/furnace unit itself.
According to Nest, wiring issues usually occur when you’re first installing a Nest thermostat, they can also surface later as well.
To install your wires properly and avoid future issues hire an electrician or follow this guide carefully (make sure to turn off the power from the circuit breaker to avoid an electrical shock).
Follow the instructions below to make sure that the thermostat wires are fully inserted:
- Turn off power to your system at the circuit breaker (A safety measure).
- Pull off the Nest thermostat display.
- Check that all connectors that have wires are down.
- If needed, re-insert wires so that the connector button stays fully pressed down. If the button isn’t down, your Nest thermostat won’t know there’s a wire in the connector.
- You may need to re-strip and straighten the wire ends so that they can be fully inserted into the Nest base’s connectors.
Note: I also recommend hiring an electrician to check if your wires are not damaged or broken and if they transfer power properly.
Tip 5: The System Needs Maintenance.
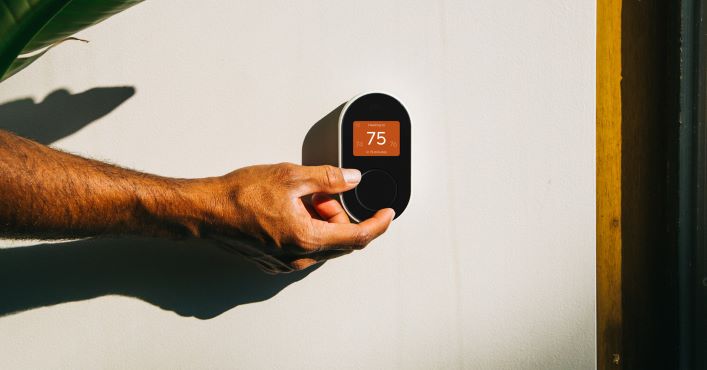
The Nest Thermostat and your HVAC need maintenance periodically to keep performing properly and when you notice that the thermostat screen turns orange when you want heat, but your system doesn’t turn on, that could be a great signal that a maintenance task is needed.
The first thing to do is to turn off the thermostat and the HVAC system at the circuit breaker switch and wait for a few minutes, then turn the power back on. Generally speaking, this process will fix the issue.
But if you notice that the system works for a few minutes or hours then the problem occurs again which means you need further assistance and I recommend hiring an HVAC specialist to fix the problem.
Tip 6: Check The C-wire.
The C-wire is needed when installing a Nest thermostat, this wire is also called a common wire and it provides Wi-Fi thermostats continuous power by connecting it to the HVAC system.
Make sure that this wire exists in your thermostat and is inserted and connected properly by using your thermostat wiring diagram and the picture you took of your old thermostat’s wires (make sure to perform this task when the circuit breaker is off), you can also contact a professional to diagnose your system and check that your C-wire is installed correctly.
Note: Nest also offers a Power Connector which is a power accessory that may be a simpler and more affordable alternative to a C-wire.
Tip 7: Reset The Thermostat.
A factory reset can also be a solution when your Nest Thermostat is not heating but I recommend to let this solution as the last one because it will delete all your personal information, data and settings inside the device including the schedule and so on.
Here are the steps to follow in order to reset the device:
- Press your thermostat ring to open the Quick View menu.
- Choose the Settings Nest settings icon.
- Turn the ring to Reset and press to select.
- Then select All Settings to reset all your Nest device settings.
Important: Remove your thermostat from your account before resetting the configuration to defaults.
Tip 8: Contact The Support Team.
The last solution with you is to contact customer support if you have a hardware problem and the device is still under warranty so they can change the unit with another one, or you can contact tech support to get more solutions tailored to your situation.
To test if there are possible system maintenance issues, install your old thermostat and test your system. This will tell you if there’s a maintenance problem with your system, or if the problem is coming from the thermostat only.
Caution: Always make sure to turn off the power from the circuit breaker when dealing with the thermostat wires to avoid electrical shock.
In Summary.
I hope this article was helpful to you. If you have questions about the Nest Thermostat or any other smart home device, you can read other articles on our websites.
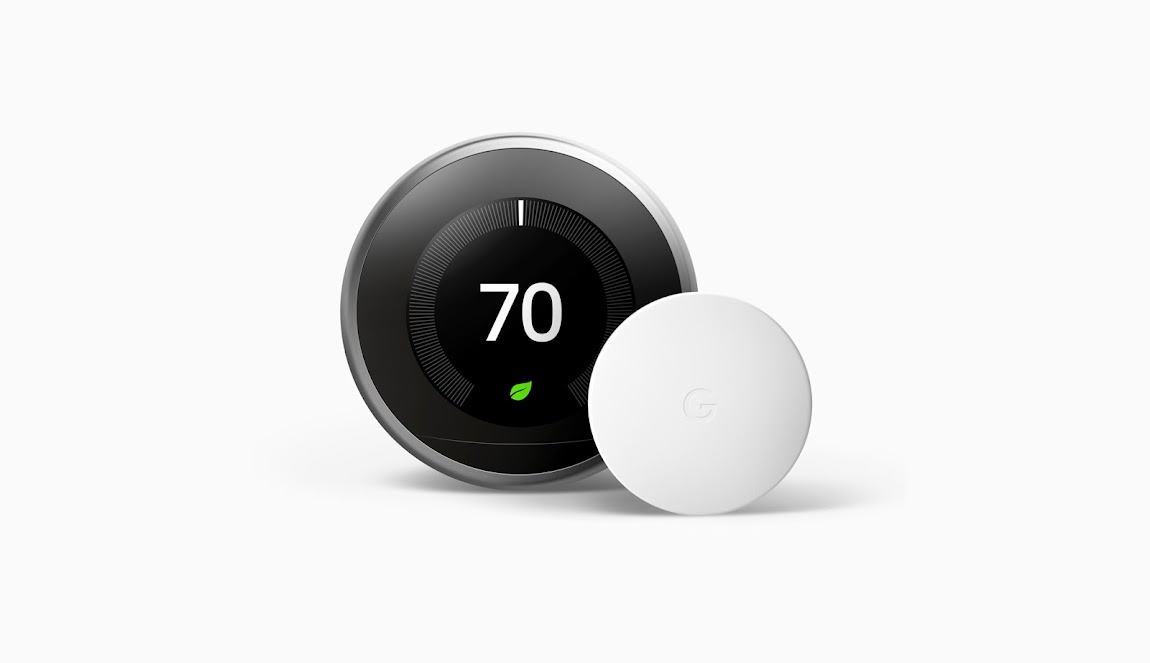
Additional Tip: You can also try to fix your Nest Sensors if they’re not connecting properly because they’re responsible for transferring the temperature data to the thermostat in order to let it adjust the temperature to meet the homeowner’s expectations.
Here’s a detailed article that can help you fix your sensor connectivity issues.
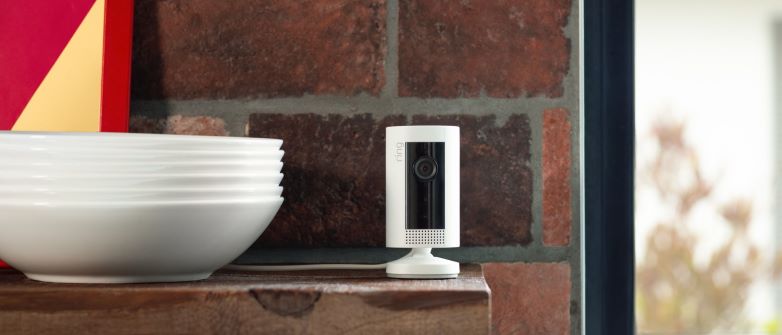
- Does Ring Camera Work Without Subscription? - January 23, 2024
- How To Secure Ring Camera From Hackers? - January 15, 2024
- Ring Camera Not Picking Up Motion? – (Here’s The Solution). - January 11, 2024