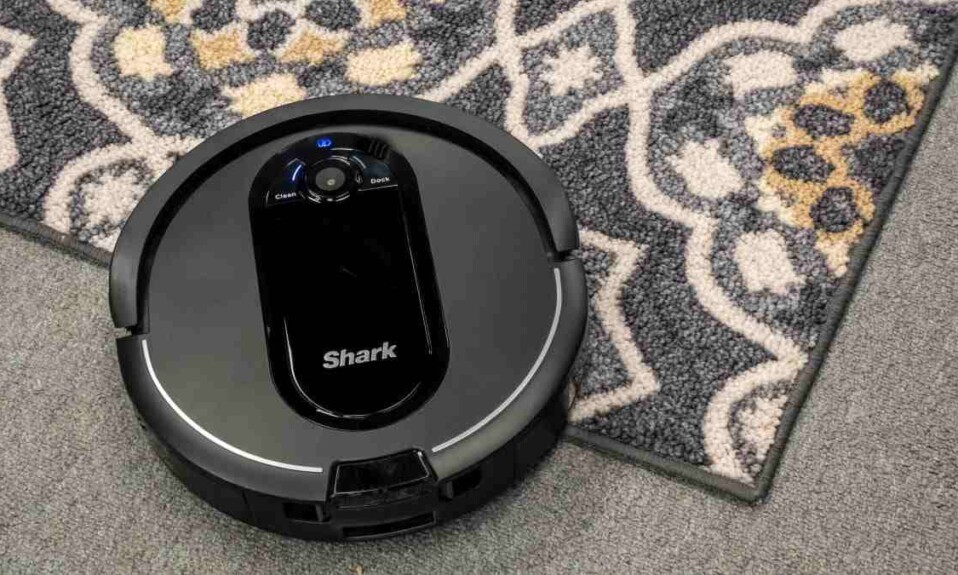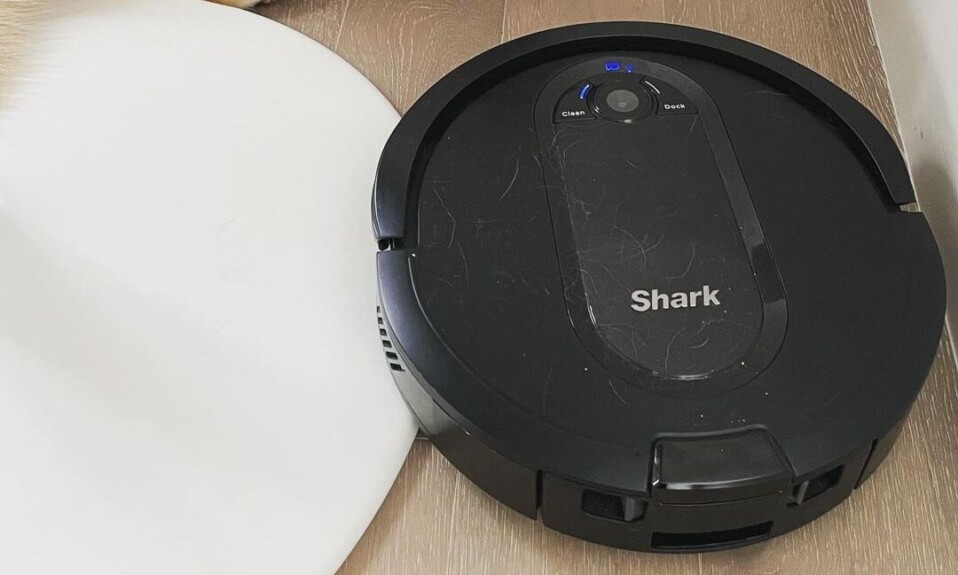


The Shark robot vacuum is the choice of many people to get rid of their daily floor cleaning chores, especially those with pets indoors, as it will help them capture dust, dander and pet allergens.
The Shark Robot has the ability to empty itself, which will save you from emptying the dust bin every day as you do with other vacuum cleaners. This device has a bagless self-empty base that can hold up to 30 days of dirt and debris.
The auto-emptying feature is what sets this vacuum apart from other models on the market as it allows you to forget about vacuuming for weeks.
One of the major problems reported by Shark robot users is that sometimes the vacuum’s auto-emptying feature stops working and they wonder how to fix it.
Sommaire
How to Fix Shark Robot Vacuum Not Emptying?
In the following part of this chapter, I will show you 8 tricks you can try when the self-emptying feature on the Shark robot is not working.
Tip 1: Restart The Shark Robot Vacuum.
The first trick I would recommend to begin with is to restart your robot, this process can be the solution for your device as it can fix internal software errors.
A reboot can fix any software bugs that weren’t allowing the vacuum cleaner to empty itself properly, so restart it and then see if it’s back to work.
Here are the steps to follow to restart your Shark robot:
- Turn off the device from the side ON/OFF button.
- Wait a few seconds (30-60 seconds).
- then turn it back on.
Tip 2: Empty The Dust Bin.
As we mentioned earlier, the self-empty base is designed to hold up to 30 days of cleaning, after that time you must manually remove and drain it, then reinstall it.
So, if you notice that your Shark robot is not emptying itself, check if the dust bin is full, as this can be the main cause of why your device is not emptying anymore.
Here’s how to empty the base dust bin when it’s full:
- Press the release button on the top of the dock then slide the bin out.
- Hold the bin over the trash and press the release button with the trash can icon on the bottom of the bin. (The bin lid will open releasing dust and debris).
- Then reinstall the bin by sliding it into the slot in the base until it clicks into place.
Tip 3: Clean The Pre-Motor Filters on The Self-empty Base.
The Pre-Motor filters of the self-empty base are responsible for capturing large amounts of dirt such as hair, dander, debris, wood chips, etc. and they’re also responsible for filtering small dirt such as fine sand and more.
These filters need to be cleaned once a month in order to maintain optimal performance, and here are the steps to follow in order to clean them:
- Press both release tabs and tilt to remove the filter door at the right side of the dock.
- Remove the foam filter by the top handle, then lift out the felt filter underneath.
- Rinse these filters with water and let them air dry for 24 hours before reinstalling them.
Note: Even if these filters are washable and reusable, it’s recommended to be replaced every 3-6 months for optimal performance.
Tip 4: Clean The Post-Motor Filter on The Self-empty Base.
The Post-Motor filter is responsible to restore the huge suction power of the vacuum instantly, with a large filter area, high precision, and non-polluting.
The Post Motor filter also needs to be cleaned to maintain its performance, the company recommends cleaning it once a month and replacing it every 3-6 months for optimal performance.
Here is how to clean the Post-Motor filter:
- Press the tab on the filter door at the bottom side of the dock.
- Tilt the door and remove the filter.
- Remove the foam from the filter and tap the filter over the trash bin to release any stuck-on dust.
- After that re-attach the foam to the filter and re-install it.
Tip 5: Clean Sensors and Charging Contacts.
The Shark robot needs to be connected to the base for self-emptying, so cleaning the charging contacts on the robot and the base will help it connect if this is the problem.
A dry cloth can be used to whip the contacts and the sensors can be cleaned by using a can of air to clean them. Restarting the device after cleaning the shelf reconnects and empties the bin.
Tip 6: Clear Clogs in The Robot.
One of the main issues that stop the Shark robot’s auto-empty function is that the dust bin is clogged, and this can be caused by vacuuming larger things like cereal or something else.
Here we recommend that you remove your robot’s dust bin and remove anything that’s causing clogging, then reinstall the bin and see if it works.
Tip 7: Reset The Shark Vacuum.
If all previous solutions didn’t solve your issue and the auto-empty feature on your Shark robot vacuum is still not working, I recommend resetting the device as this process will fix malfunctioning features and keep it running smoothly.
The only drawback of this solution is that the robot will be back to its original settings and all your settings and preferences will be removed from the device.
Here are the steps to follow to reset your Shark robot:
Here’s how to reset the Shark Robot Vacuum from the app:
- Open the SharkClean app on your mobile or tablet.
- Then go to Settings and click on the Factory Reset option.
- The Shark robot will restore itself to its factory settings. (The procedure can take a few minutes).
and here’s how to reset it manually:
- Locate the POWER switch on the side of the Shark robot.
- Switch the POWER switch to OFF.
- Wait for at least 10 seconds before turning the Shark robot back on.
- The Shark robot has been rebooted.
Tip 8: Contact Technical Support.
The last solution that I recommend if all the advice in this article has not solved your problem is to contact Shark Clean technical support and they will provide you with more suitable solutions for your problem.
Conclusion.
So, as we learned, there could be numerous ways to fix your Shark Robot Vacuum when it’s not emptying. Hopefully one of the solutions listed in this article helps.
- Does Ring Camera Work Without Subscription? - January 23, 2024
- How To Secure Ring Camera From Hackers? - January 15, 2024
- Ring Camera Not Picking Up Motion? – (Here’s The Solution). - January 11, 2024