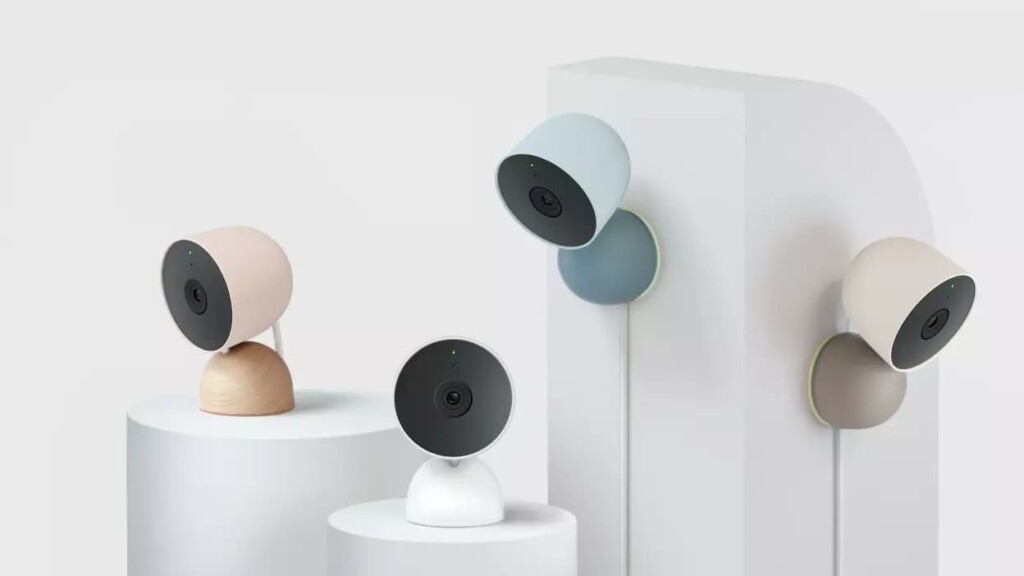
When your Nest camera loses its Wi-Fi connection, it’s not just a hiccup – it’s a disruption that impacts crucial functionalities. Loss of connectivity can lead to the inability to upload footage to the cloud, block remote access to live feed, and disable voice control, as well as many other features critical to its seamless operation.
But fear not, this article is your guide to overcoming the challenge of a Nest camera not connecting to Wi-Fi. I understand the importance of restoring your camera to its full capacity, and that’s why I’ve compiled seven solutions to get your device back online.
So, if you find yourself grappling with connectivity issues, keep reading to discover the tips that will help you regain control and ensure your Nest security camera is operating at its best.
Sommaire
How To Fix Nest Camera Not Connecting To Wi-Fi?
In the upcoming sections, You’ll find different tips and tricks to explore. Take your time and work through them step by step, each suggestion is a potential key to unlocking the solution to your problem.
Tip 1: Power Cycle Your Router.
One of the simplest yet effective solutions to address connectivity issues with your Nest Camera is to power cycle your router. A power cycle helps re-establish connections and resolves temporary bugs and software issues that might be causing disruptions.
All you have to do is unplug the router from its power source, wait about 60 seconds to allow it to reset its power, and then plug it back in.
Another thing I also recommend to power cycle is the security camera, if you’re using a wired Nest camera model do the same thing by unplugging it from its power source for 1 minute and then plug it back in.
Implementing this is a hassle-free process and often proves effective in resolving temporary disruptions. If, after following these steps, your Nest Camera is still experiencing issues, proceed to the next solution for further troubleshooting.
Tip 2: Check The Frequency Channel.
When dealing with Nest camera connectivity issues, it’s crucial to examine the frequency channels your device is operating on. While Nest cameras are compatible with both 5GHz and 2.4GHz channels, I highly recommend utilizing the 2.4GHz channel for optimal performance.
This channel not only provides an extended range but also exhibits better penetration through walls and other physical obstructions.
Navigate to your router settings and ensure that the 2.4GHz frequency channel is already enabled so the camera can connect to it.
Avoid placing too many devices that operate on the same frequency (2.4GHz) close to your Nest camera. This can lead to interference and connectivity issues.
By optimizing your camera’s frequency channel and reducing interference from neighboring devices, you pave the way for a more stable and robust connection.
Tip 3: Recharge Your Camera.
Low battery power can compromise your Nest camera’s performance and cause connectivity issues. So make sure to charge it once you receive a low battery alert from its app.
A fully charged Nest camera excels at establishing and maintaining connections with your home router. Quickly addressing low battery levels not only improves the overall functionality of the camera but also minimizes the risk of connectivity issues.
If you’re having trouble charging the battery, explore solutions in our article titled “8 Ways to Fix Nest Camera Not Charging”.
Tip 4: Update Your Wi-Fi Information.
If you’ve recently reset your router or modified your Wi-Fi password, take a moment to update this information in your Nest camera settings. Not updating these settings result in a connection failure.
After updating the Wi-Fi information, try to access the live view from your app to test the camera’s connectivity to confirm that the changes have taken effect. If challenges persist, proceed to the next troubleshooting step for further guidance.
Tip 5: Increase Your Wi-Fi Signal.
Unstable Wi-Fi signals can significantly contribute to connectivity problems with your camera. Fortunately, several solutions exist to enhance signal strength and ensure full coverage inside your home.
Begin by optimizing your router placement, you can do this by changing the router location and putting it in a place where it can cover all your house.
Additionally, consider enhancing signal strength through the introduction of a Wi-Fi range extender or the installation of a mesh network.
These measures contribute to a robust WiFi environment, minimizing connectivity challenges for your camera.
Tip 6: Reset The Router.
Resetting your router not only addresses specific Internet connectivity issues but also has the potential to enhance network performance and provide a more robust connection to your Nest camera.
It’s advisable for users to incorporate a routine router reset, ideally every couple of months, to avoid internal software bugs.
Here are the steps to follow to reset your router:
- Make sure the router is powered on.
- Use a paperclip to hold down the Reset button at the back of the router for 30 seconds.
- Release the Reset button and wait 30 seconds for the router to fully reset and power back on.
Tip 7: Reset The Nest Camera.
Resetting your Nest camera is a powerful measure to troubleshoot glitches and resolve internal software issues, effectively returning the device to its original settings.
However, be aware that this action comes with a significant consequence: all data and settings within the device, including recorded footage, will be erased. It’s akin to giving your Nest smart camera a fresh start.
Here’s a detailed guide from Google that you can follow to perform a factory reset “How to reset your Nest Camera”.
Conclusion.
So, we have explored all the tips that you can implement in order to fix the Nest camera connectivity issue, in case these steps do not work for you or you are having trouble reconnecting the device, you can contact customer support on their website.
- Does Ring Camera Work Without Subscription? - January 23, 2024
- How To Secure Ring Camera From Hackers? - January 15, 2024
- Ring Camera Not Picking Up Motion? – (Here’s The Solution). - January 11, 2024



1 Comment
Comments are closed.