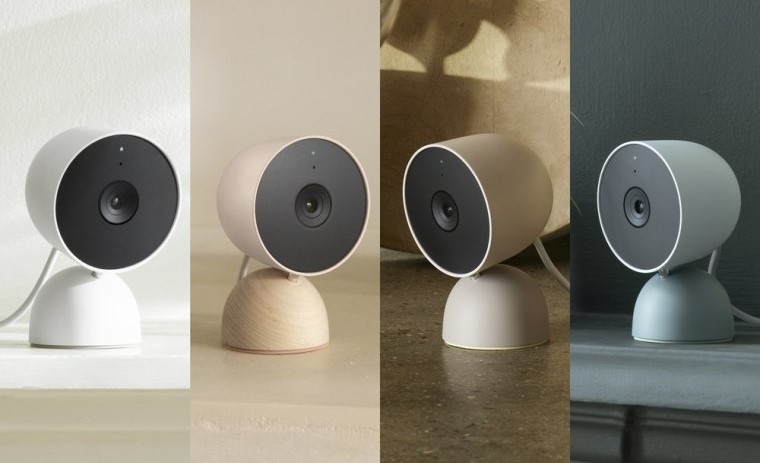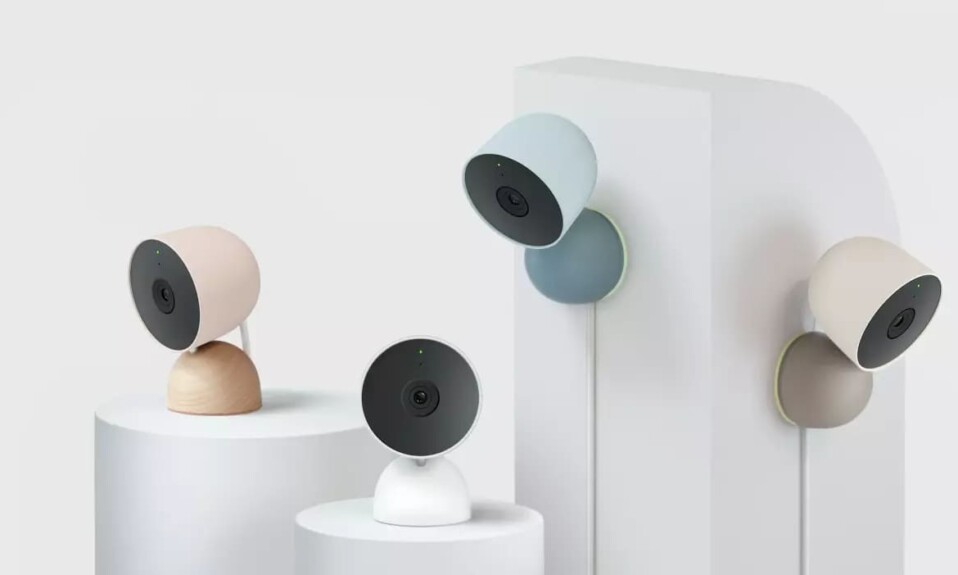

Every now and then, security cameras may face some stumbling blocks, and one frequently reported issue by Nest users revolves around the hiccup in activity zones.
This feature is designed to define specific areas for motion detection which plays a pivotal role in tailoring your camera’s vigilance to your unique needs.
So when it stops working the consequences can be missing crucial alerts from the very areas you’ve designated as high-priority zones. Whether it’s a backyard entryway or a front porch, the impact on your home’s safety and peace of mind can be significant.
The good news is that there are many solutions to explore. In this article, I’ll guide you through a variety of tips and techniques to get your Nest camera’s activity zones back to work.
Stick around to find out how you can troubleshoot and make sure your Nest camera is doing its job flawlessly.
Sommaire
How To Fix Nest Camera Activity Zones Not Working?
When you notice that your camera’s activity zone is no longer functioning, there are several solutions to explore.
These include recharging the battery, rebooting the camera, updating the software, and much more.
Continue reading for a detailed exploration of these troubleshooting options.
Tip 1: Setup an Activity Zone.
The first thing to start with is to ensure that the activity zones you want to monitor are correctly configured in either the Google Home app or Nest app, depending on the app you’re using to manage your camera.
Without defined zones, the Nest camera will notify you about every movement within its field of view.
Here’s how to create a new Activity Zone on the Nest app:
- Select the camera that you want to make an Activity Zone for.
- Tap Settings, then select Activity Zones.
- Tap Create Zone.
- Turn your phone to go into landscape mode for a full screen of your camera’s view.
- Tap and drag inside the zone to move it.
- Tap and drag any of the 8 points on the sides of the zones to change its shape.
- On the bottom of the screen, tap one of the colored circles to change the color of the Activity Zone.
- At the top of the screen, tap the pencil Pencil icon to give your zone a descriptive name.
- Then, tap the check mark app confirm icon to save the zone name.
- Tap the check mark app confirm icon to save the zone.
And here’s how to do it on the Google Home app:
- Select the camera that you want to make an Activity Zone for.
- Tap Settings, then Events, then Seen Events.
- Choose + Add a zone.
- Change the shape of the zone to capture what you want.
- Turn your phone to go into landscape mode for a full screen of your camera’s view.
- Tap and drag inside the zone to move it.
- Tap and drag any of the 8 dots on the sides of the zone to change its shape.
- To change the color of the Activity Zone, tap Zone color.
- Under the camera view, tap on the Zone name to give your zone a descriptive name.
- Under Event History, you can choose which types of events you want to record in that zone and which notifications you want to receive.
Tip 2: Turn On Notifications.
Sometimes the activity zone feature is working without any issue but the problem is that you’re not receiving anything when motions are detected inside this area and that’s because the notifications are disabled.
To address this, simply enable notifications within the app by following the next instructions.
For Google Home app:
- Open the Home app.
- Select your camera.
- Navigate to settings.
- Choose Notifications.
- Turn on the desired notification type.
For Nest app:
- Open the Nest app.
- Tap Settings on the home screen.
- Select Notifications.
- Choose the camera.
- Select the notification type to enable.
Tip 3: Power Cycle Your Camera.
Power cycling helps address various issues, including temporary software glitches or freezes that may impact the functionality of activity zones. It’s a simple yet effective troubleshooting step that can often restore your Nest camera to normal operation.
All you have to do is unplug the camera from its power source, wait 60 seconds to allow the power to reset, then plug it back in.
Once the camera has fully restarted, open the Google Home or Nest app to check if the activity zones are functioning as expected.
If, after power cycling, the issue persists, you may need to explore other troubleshooting steps, so move on to the next solution.
Tip 4: Recharge Your Battery.
For Nest cameras powered by batteries, maintaining an adequate charge is crucial for optimal performance, low battery levels can impact the device’s ability to function properly which may affect features like activity zones.
So keep a close eye on notifications coming from your app. If you receive a low battery alert, it’s essential to address this promptly to ensure continued functionality.
If you’re experiencing issue with recharging the battery you can take a look at this article “8 Ways To Fix Nest Camera Not Charging.”
Tip 5: Update The Software.
Make sure the firmware is already updated. Regular updates are crucial for resolving bugs, improving security, and ensuring that your Nest camera’s features, including activity zones operate seamlessly.
Note: The only thing you can do to update the Nest camera is to make sure it’s propely connected to Wi-Fi and the internet, then it should automatically update itself.
Another thing that needs to be updated is the app whether you’re using the Nest app or Google Home app to manage the camera.
To update the Nest or Home app, head to your device’s app store (Google Play Store or the App Store), search for the app you want to update and hit the update button if available.
Tip 6: Check The Camera Placement.
Ensuring the correct placement of your Nest camera is vital for effective monitoring within activity zones. Follow these detailed steps to verify and optimize your camera’s positioning:
- Direct Camera Towards the Intended Area: Confirm that your Nest camera is correctly pointed toward the specific area you want to monitor within the activity zones. Adjust the camera angle if necessary.
- Clear Obstructions: Ensure there are no physical obstructions that might hinder the camera’s view. Common obstructions include branches, leaves, or other objects that may have moved into the camera’s line of sight.
- Inspect Camera Lens: Use a microfiber cloth to carefully clean the camera lens. Dust, dirt, or smudges on the lens can affect image quality and motion detection. Gently wipe the lens to maintain a clear view.
This attention to detail ensures that the camera has an unobstructed view of the designated areas, improving the accuracy of motion detection within those zones.
Tip 7: Reset The Nest Camera.
A factory reset is another solution that can address persistent issues affecting your Nest camera, including problems with activity zones.
Before proceeding, it’s crucial to understand that this solution will erase all data, settings and preferences associated with the camera, including the entire video history and snapshots (They can’t be recovered).
This process will return the device to its factory original state. So make sure to keep it as a last resort when all previous tips don’t work.
Here’s a detailed guide from Google that you can follow in order to perform a factory reset “detailed guide to reset your Nest Camera”.
Final Words.
If after implementing all the tips cited in this article, you continue to experience issues with activity zones, consider reaching out to Nest customer support for further assistance.
- Does Ring Camera Work Without Subscription? - January 23, 2024
- How To Secure Ring Camera From Hackers? - January 15, 2024
- Ring Camera Not Picking Up Motion? – (Here’s The Solution). - January 11, 2024