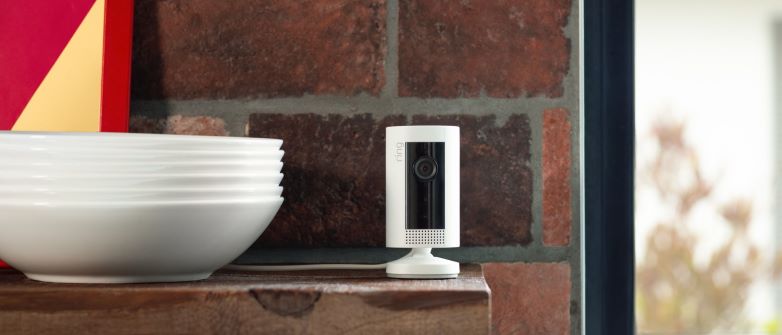

Many homeowners are changing their traditional bulbs with smart ones to save energy and shrink electricity bills, and the Ring Smart LED bulb is one of the options they turn to due to the features it offers.
Ring light bulbs offer a lot of options such as a working life of 22.8 years (based on 3 hours usage a day), remote control from a mobile app or Alexa voice assistant, they are also easy to install and have the ability to be connected to other Ring devices and many other features.
In this article, we’re going to show you step by step how to set up the Ring light bulb using your smartphone or tablet so see you below.
What you need to know before setting up the Ring bulb.
There are a few things you should be aware of before setting up or using these bulbs, and here’s what you need to know:
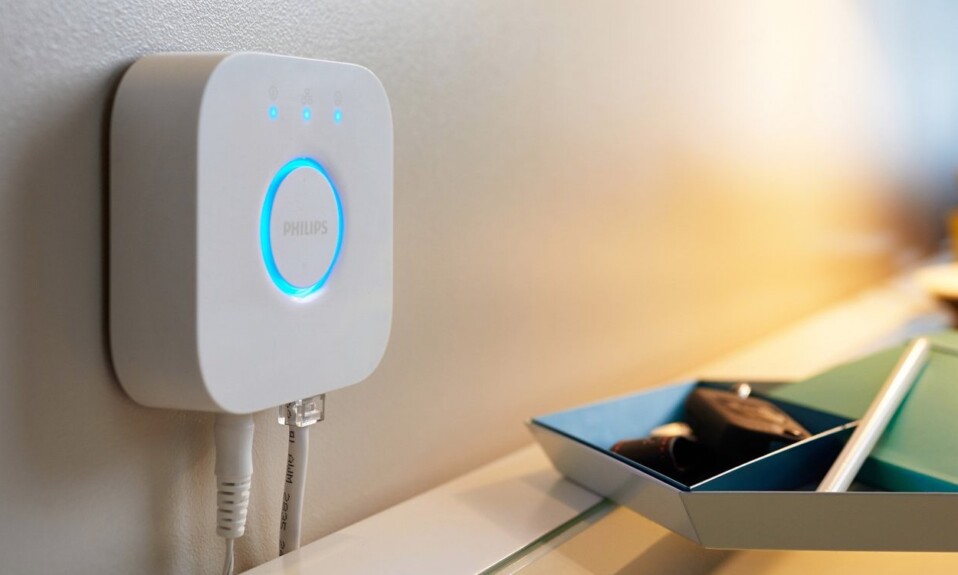
- The Ring Bridge is required (without a Bridge you’ll only have the factory settings, which can only be updated once they are connected to a
Bridge). - The Bridge needs to be already installed on the Ring app and connected to your network.
- Install the bulb in a weatherproof fixture when you use it outdoor (Do not use where directly exposed to water).
- Use the bulb only in a socket rated for this bulb.
- Risk of electrical shock. Do not attempt to open or disassemble the bulb (which will also void the warranty).
- Not suitable for use with standard wall dimmers.
- Before replacing, turn off the power and let the bulb cool to avoid electrical shock or burn.
- Dispose of this device in accordance with disposal laws in your area.
Setup Ring light bulb with the Ring app.
In this section, we’re going to teach you the steps to follow in order to set up the Ring bulb on your smartphone and benefit from the remote control option and other features.
Here are the instructions to follow:
- Download the Ring app on your IOS or Android device.
- Open an account on the Ring app.
- Access the account and tap “Set up a Device” at the bottom of the screen.
- Select “Smart Lighting”, then choose your location.
- Another screen will appear to let you scan the QR Code on Your bulb.
- The QR code can also be found on your Ring A19 or PAR38 Smart LED lightbulb packaging.
- You can select “Set Up Without Scanning” and enter the five-digit PIN code underneath your device’s QR code to add your device.
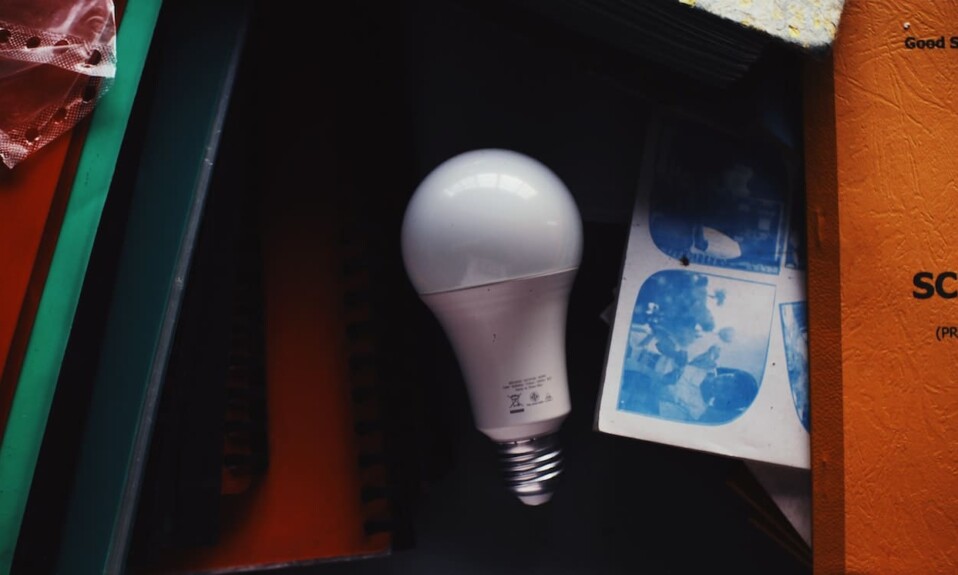
- Screw in Your Light Bulb.
- Ensure power is off!
- Remove the previous bulb.
- Screw-in your new Ring Smart Lighting Bulb.
- Restore the power to let the app search for the bulb and connect to update its firmware.
- Your bulb may blink while an update occurs.
- Don’t be so far from to bulb while the update occurs.
- Name Your Smart Light Bulb.
- I recommend giving it a simple name like “living room bulb” or “bedroom bulb” to let your Alexa hear it easily when you’re using the bulb with your voice assistant.
- Don’t give the same name to all your bulbs.
- Now the setup process is completed.
You can also use the Ring app to add your bulb to a group, add a schedule, adjust the brightness, see the event history, and track the health of the bulb.
- Does Ring Camera Work Without Subscription? - January 23, 2024
- How To Secure Ring Camera From Hackers? - January 15, 2024
- Ring Camera Not Picking Up Motion? – (Here’s The Solution). - January 11, 2024