

Has your Reolink camera suddenly stopped recording?
It’s a situation nobody wants to deal with, especially during critical moments, but it can happen to anyone. The Reolink security camera recording issue is something that requires your immediate attention to safeguard your home or business from potential theft or any other security risks.
That’s why we promise to provide you with a comprehensive solution to this issue. We’ll uncover the common causes, step-by-step troubleshooting methods, and tips to restore your camera’s recording functionality.
So, keep reading to discover how you can ensure your Reolink camera is recording once again.
Sommaire
Ways To Fix Reolink Camera Not Recording To The Cloud.
Before we jump into the details of the solutions, let’s address a question that might be on your mind right now: Why has my camera stopped recording to the SD card?
Several factors could be at play, such as improper settings, low battery levels, outdated firmware, an incompatible or faulty SD card, or irregular motion detection or PIR sensor function.
We’ll explore each of these potential culprits and guide you through the solutions in the following sections.
Solution 1: Check Your Battery Level.
The first step to troubleshoot your Reolink camera’s recording issue is to check its battery level, the power source plays a critical role in ensuring your camera functions seamlessly.
If you find that the battery level is too low, it’s crucial to recharge it promptly.
All you have to do is connect your cam to a power source using the provided charging cable and adapter. Allow it to charge for the recommended duration to ensure it reaches an adequate battery level.
Note: If you have a replaceable battery model and you notice the battery is not charging, it may be time to replace it.
Solution 2: Turn On the Camera’s Recording/PIR sensor.
Sometimes, the issue may not be as daunting as it appears. Your Reolink security camera may not be recording simply because the recording and PIR features are disabled within the app.
If that’s the case, you’ll need to enable this feature to allow your device to record events seamlessly.
Follow these steps to activate the recording feature:
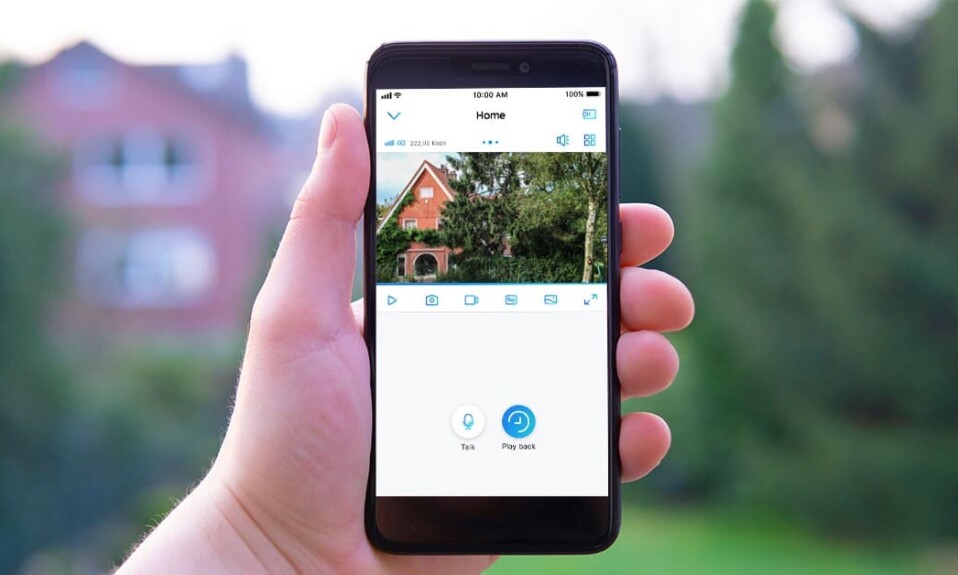
- Open the Reolink app.
- Go to the camera’s settings.
- Tap on “Camera Recording”.
- Then turn on the recording feature.
Here’s how to enable the PIR motion sensor:
- Open the Reolink app.
- Go to camera settings.
- Tap on the PIR motion sensor tab.
- And enable the PIR motion sensor.
Enabling the recording feature and the PIR sensor through the Reolink app is a crucial step in ensuring your camera captures the necessary footage. Without these settings activated, your camera may not initiate recordings as expected, resulting in missed events.
Solution 3: Update The Firmware and the App.
Another thing to consider is that both your Reolink security camera firmware and the Reolink app are up to date. Often, issues with camera functionality, including recording problems, can be attributed to internal bugs or errors.
Keeping your camera and app’s software current is a proactive step to prevent and address such issues.
Here’s how to upgrade a battery-powered Reolink camera:
- Tap on the gear icon to go to the Device Settings page.
- Then go to the Upgrade page, and tap Upgrade Manually to upgrade the firmware for the camera.
Note: If you’ve enabled Auto Upgrade, the camera will upgrade to the latest firmware version automatically once it detects the version.
And here’s how to do it with non-battery powered cameras:
- Check the camera model and hardware version in the system information interface.
- Go to Download Center and find the firmware for your cameras/NVRs, if your current firmware isn’t the latest you’ll find a firmware build number larger than your current version available for download.
- Download the file and unzip it, using the Reolink Client, NVR monitor, or web browser to access the camera/NVR to upgrade it.
(Here’s a detailed guide that shows you how to upgrade a non-battery Reolink camera).
And if you want to update the Reolink app here are the instructions to follow:
- Visit the app store on your mobile device (App Store for iOS or Google Play for Android).
- Search for the ‘Reolink’ app and check for updates. If an update is available, tap to install it.
Solution 4: Re-insert The SD Card.
Reinserting the SD card is another solution you can use if the previous solutions had no effect on resolving your issue.
This can help you if the camera doesn’t read the microSD card, also when removing the card, make sure that the memory card terminal isn’t dirty.
If you notice dirt on the memory card terminal, try cleaning it with a Q-Tip moistened with an IPA (isopropyl alcohol) +90% or use a regular pencil eraser.
Be sure not to rub too hard to avoid damaging the card, just enough to ensure the contacts are clean and shiny.
After that, insert the memory card into the camera and test if it records.
Solution 5: Format or Replace The SD Card.
Another troubleshooting step to explore when your Reolink camera stops recording is formatting the SD card. Formatting essentially wipes the card clean of any data and sets it up for optimal use.
Over time, SD cards can accumulate file errors, fragmentation, or corruption. These issues can hinder the proper functioning of your camera and lead to recording problems. By formatting the SD card, you can:
- Remove any corrupted or damaged files.
- Ensure a clean slate for your camera to write new recordings without interruptions.
Here’s how to format your SD card properly:
- Ensure your camera is powered off.
- Carefully remove the SD card from the camera.
- Insert the SD card into a computer or a card reader.
- Access the SD card on your computer.
- Right-click on the SD card and choose the “Format” option.
- Select the file system (FAT32 is typically recommended for most cameras).
- Click “Start” to initiate the formatting process.
Solution 6: Reset The Reolink Camera.
If the problem still persists you can go and reset your Reolink camera, this process can help resolve persistent bugs and internal errors that may be the root cause of recording issues.
The only downside to this trick is that all your settings and preferences are going to be deleted from the device and you’ll have to setup the camera from scratch.
You can follow this detailed guide to reset your Reolink camera properly.
Final Thoughts.
We’ve explored the key steps to troubleshoot and fix the Reolink camera’s recording issues and I hope it will be helpful for you. However, if these tips prove insufficient or seem complex, don’t hesitate to contact Reolink’s dedicated support team.
- Does Ring Camera Work Without Subscription? - January 23, 2024
- How To Secure Ring Camera From Hackers? - January 15, 2024
- Ring Camera Not Picking Up Motion? – (Here’s The Solution). - January 11, 2024


1 Comment
Comments are closed.