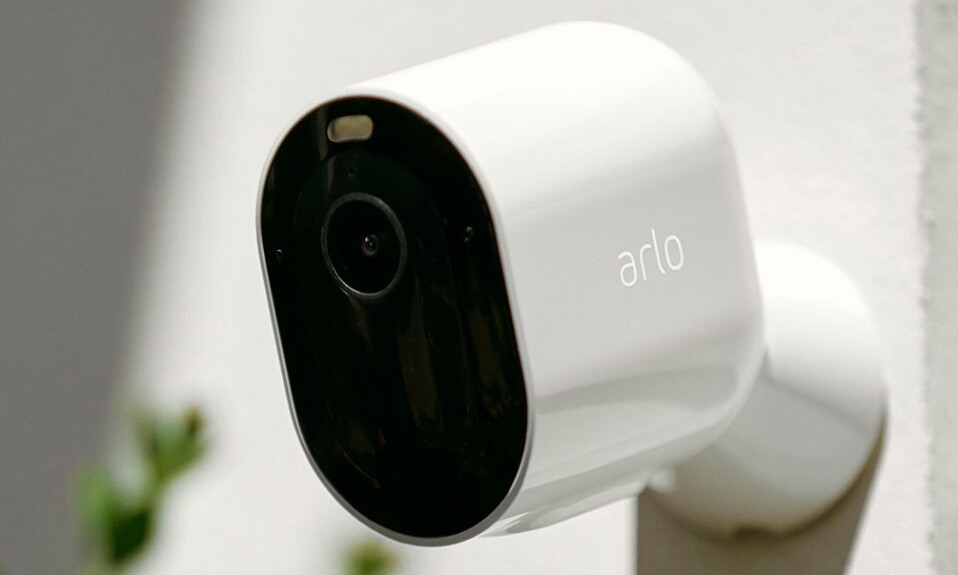


Experiencing a recording issue with your Arlo camera can be a frustrating experience for those who want to stay aware of what’s happening on their property and protect it from potential threats.
Before we dive into the intricacies, it’s crucial to recognize that this kind of glitch isn’t exclusive to Arlo, it’s a potential hiccup with cameras across various brands, including Eufy, Ring, and many others.
So, before pointing fingers solely at Arlo, consider this a shared challenge in the realm of surveillance tech.
But do not worry! I’m here to guide you through the resolution process. I’ve written multiple articles on similar issues across different brands, and today, we’re focusing on Arlo.
So I’m about to share a set of tips to get your Arlo camera back to recording, ensuring that it captures every critical moment without a hitch.
Sommaire
6 Ways To Fix Arlo Camera Not Recording.
Before we dive into the nitty-gritty, let us highlight the main reasons behind the recording issue on the Arlo camera. Whether it’s outdated software, low battery, connectivity issues, or an expired cloud subscription, these are the usual reasons for this problem.
Keep reading because the answers are just a scroll away.
Solution 1: Reboot Your Arlo Camera.
Rebooting your Arlo camera is the first solution I suggest to start with, this involves restarting the device to clear any internal temporary glitches or issues.
Over time, your device may encounter internal software bugs that can impact its performance, So rebooting your Arlo camera essentially gives it a fresh start, resolving potential software hiccups.
This can restore normal functioning to your camera, ensuring it resumes recording and monitoring your surroundings effectively.
For battery-powered models: Remove the batteries, wait 60 seconds, then reinsert them again.
For wired models: Unplug the camera from the power source, wait for a few seconds, and then plug it back in.
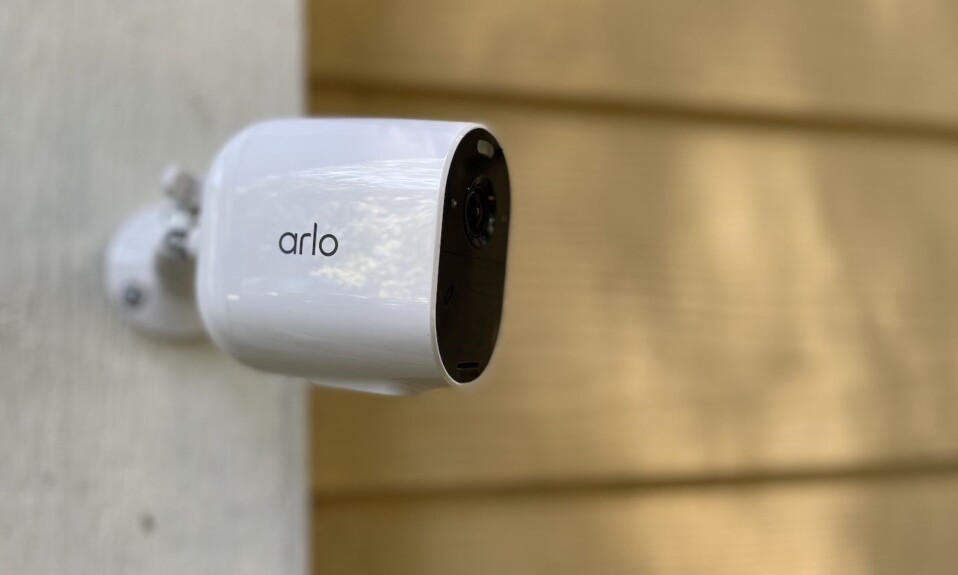
Solution 2: Check The Battery Level.
For wireless Arlo camera models, checking the battery level to ensure it’s not exhausted is another important step to ensure the device is working properly.
Low battery levels can cause the gadget to malfunction and impact its recording capabilities. So ensuring an adequate power supply is crucial for optimal performance.
Thus, if the battery level is low, replacing or recharging it will provide the necessary power for the proper functioning of the device.
Note: If you face an issue while charging your device you can take a look at this blog post “6 Tips To Fix Arlo Camera Not Charging.”
Solution 3: Renew Your Cloud Subscription.
Arlo cameras often use cloud storage for recorded footage. An expired cloud subscription may therefore prevent the camera from storing recorded videos.
In this case, the only thing you can do is renew your subscription to ensure continued storage and access to your recorded clips, allowing the camera to resume normal operation.
Solution 4: Fix Connectivity Issues.
This solution involves troubleshooting any connectivity issues between your Arlo camera and the Wi-Fi network.
Inconsistent or weak Wi-Fi signals can disrupt communication between the camera and the Arlo servers making it impossible for the device to upload its recorded footage.
To make it easier for you to troubleshoot this issue, here are some tips you can try:
- Reboot the router.
- Improve Wi-Fi strength.
- Reduce Wi-Fi interference.
- Connect to camera to the 2.4GHz channel.
- Update the router firmware.
- Reset the router.
- If you’re using the Arlo SmartHub or base station make sure to reboot it and update it as well.
For much more details you can read this article: “How To Fix Arlo Camera Not Connecting To Wi-Fi?”
Solution 5: Update The Firmware and The App.
To resolve this hiccup, consider updating both your camera’s firmware and its companion app. By ensuring they’re current, you are essentially providing your Arlo setup with the latest enhancements necessary for optimal performance.
This update not only brings improvements but also addresses bugs, and occasionally introduces new features that contribute to overall system stability and performance.
So if the recording issue stems from a software glitch, this solution is worth exploring. It also reduces the likelihood of encountering future recording problems associated with outdated software.
To update the Arlo app, head to your device’s app store (Google Play or the App Store), search for “Arlo,” and hit the update button if available.
To update your Arlo Ultra, Pro 3, Pro 2, Pro, or Wire-Free firmware manually:
- Launch the Arlo app or log in to my.arlo.com.
- Tap or click Settings > My Devices.
- Select the camera that you want to update.
- Tap or click Device Info > Firmware > Update.
- Warning: Do not open the battery door or remove the battery while an Arlo camera is updating and installing firmware.
- Wait for the camera firmware update to complete.
- While the firmware is downloading, the LED on the camera blinks alternating blue and amber.
- After this, the camera’s LED turns off for about one to two minutes while the camera installs the firmware.
- After the camera firmware update finishes, the camera syncs to the base station again and the LED blinks blue rapidly.
- Repeat steps 5–7 for each camera that you want to update.
To update your Arlo Q, Q Plus, or Go firmware manually:
- Launch the Arlo app or log in to my.arlo.com.
- Tap or click Settings > My Devices.
- Select the camera that you want to update.
- Tap or click Device Info > Firmware > Update.
- Warning: Do not disconnect your camera, open the battery door, or remove the battery while the firmware update is in progress.
- Wait for the firmware update to complete.
- The camera’s LED blinks amber and blue while the firmware is downloading and installing. After the firmware is installed, the camera reboots and the LED is off.
- When the LED lights again and the pattern stops changing, your camera is available to stream.
- Note: If you turn off your Arlo Go camera’s LED in the camera settings, the LED does not blink to show that a firmware update is in progress.
- While the LED is turned off, always make sure that you can view your camera live from the Arlo app or a web browser before interrupting power to the camera.
- If you remove the battery or otherwise interrupt power while a firmware update is in progress, your camera might become unusable.
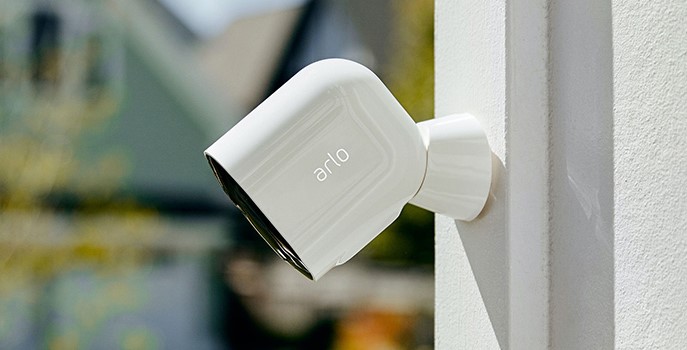
Solution 6: Reset The Camera.
This solution is a last resort when other troubleshooting tips haven’t resolved the issue.
A factory reset clears out any persistent software issues and eliminates stubborn problems, allowing you to set up the camera afresh and potentially resolve any recording issues.
However, it’s crucial to note that this process deletes all personalized settings, preferences, and data stored within the device. So be cautious before proceeding with the reset.
Here are the steps to follow in order to reset your camera:
- Unmount your camera and find the sync button.
- If you have Pro 3, Pro 4, Floodlight, Ultra and Go 2 models, Release the camera from the camera housing to access the sync button.
- If you have Essential Wire-Free, Pro, Pro2, and other models, Find the sync button on the camera housing.
- Press and hold this button until the camera LED begins blinking amber (blinks 3 times).
- Launch the Arlo app or log in to this website.
- Tap Settings, then “My Devices” and select your camera.
- Choose “Remove Device”, the “Yes” to confirm.
- Back to the Devices page and choose “Add New Device”.
- Select Cameras and follow the prompts to connect the camera to your WiFi network, base station, or SmartHub.
- If needed, insert the camera back into its camera housing until it clicks back into place.
Conclusion.
Now you have the know-how to troubleshoot and reactivate the recording capabilities of your Arlo camera. For additional assistance, contact Arlo Customer Support for advice or personalized help.
- Does Ring Camera Work Without Subscription? - January 23, 2024
- How To Secure Ring Camera From Hackers? - January 15, 2024
- Ring Camera Not Picking Up Motion? – (Here’s The Solution). - January 11, 2024