

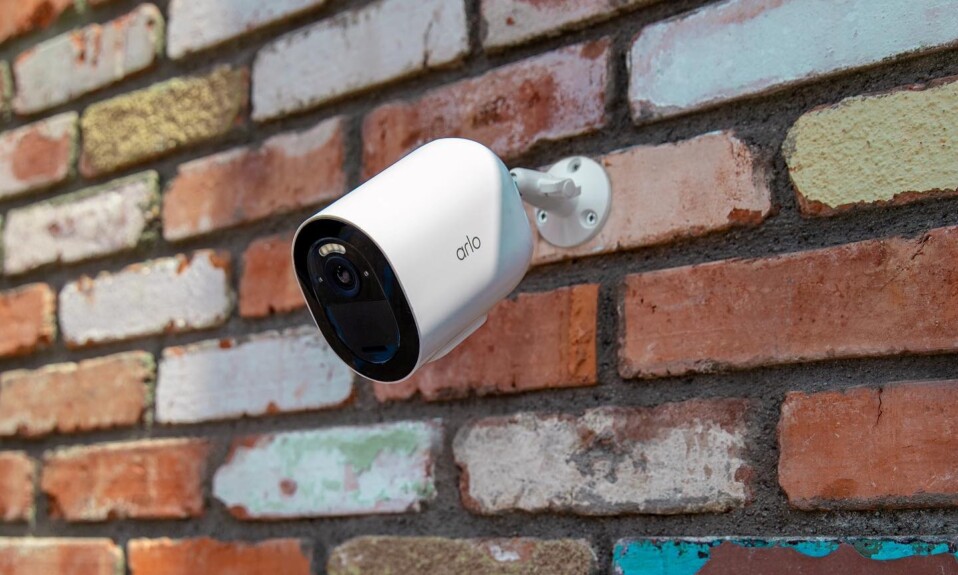
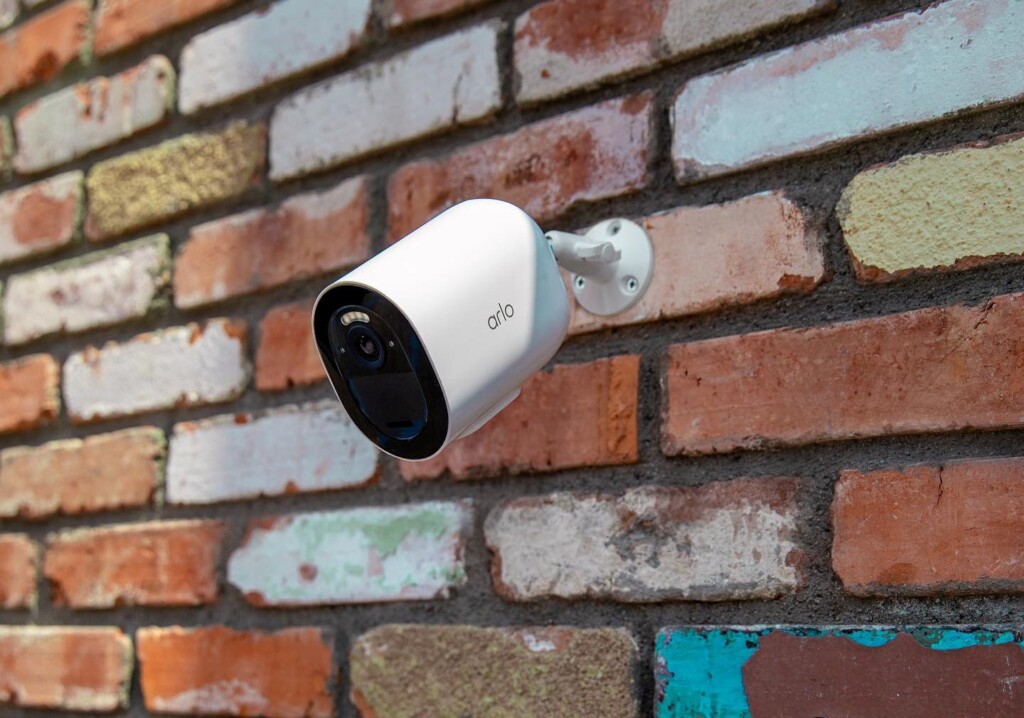
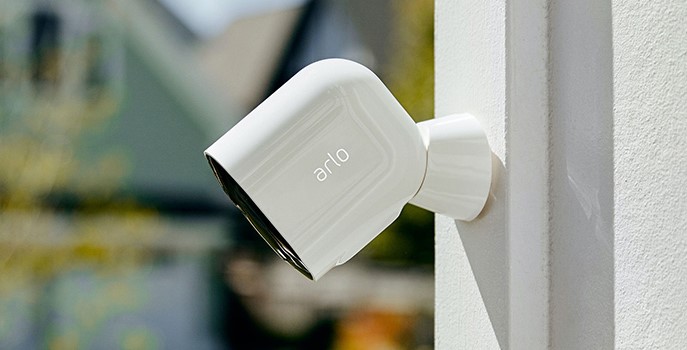
The Arlo smart camera runs on a rechargeable lithium-ion battery that can last up to 6 months (battery life varies depending on your usage).
Once the battery runs out users need to recharge it using the power adapter plugged directly into the wall outlet. They can also link the cam to the Arlo solar panel to keep the battery charged with direct sunlight.
Others rely on the Arlo Dual charging station, which can charge two batteries simultaneously (this option doesn’t apply to Arlo Essential cameras).
No matter how you charge it, you gotta keep this camera juiced up if you want it to keep doing its thing.
In this article, I’ll be addressing an issue that many Arlo users have been complaining about which is what to do when the Arlo camera isn’t charging.
Sommaire
How To Fix Arlo Camera Not Charging?
There are many causes that can prevent your Arlo camera from charging properly, such as a cracked charging cable, a damaged power adapter, insufficient sunlight for the solar panel, or a damaged battery.
In the following sections, I’ll explain all of this in more detail and show you how to fix the issue and get your camera to recharge properly.
There are more exciting details to come, so keep reading.
Tip 1: Check The Charging Cable.
To charge your Arlo camera’s battery, simply insert both ends of the charging cable (whether USB or magnetic) into the camera and the power adapter.
Then plug the AC adapter into the wall outlet and your battery will begin to recharge.
In this process, the role of the charging cable is to transfer the power from the AC adapter to the Arlo Cam in order to charge its battery.
So make sure that this cable is fully inserted into the AC power adapter and your camera.
Also check to see if there are any cracks or dirt on the ends of the cable, as this can cause your cable to stop working.
You can also try another cable to determine if the root cause is coming from the charging cable or not.
Tip 2: Plug Your Power Adapter Into Another Outlet.
This is a good idea, as the charging issue may be caused by a faulty wall outlet that isn’t sending enough power for your cam to charge its battery.
So go and plug your adapter into another wall outlet and see if the camera is charging, if so then the root cause of the problem is with the outlet.
In this case, you can call an electrician to repair your socket.
It’s also important to ensure that the voltage of the outlet matches the amount of power your AC adapter can handle. Using an outlet with too high voltage can damage both your adapter and your camera.
You can use a multimeter to measure the voltage (a properly functioning outlet will read 110-120 volts).
Tip 3: Re-insert The Battery From Your Camera.
This tip won’t apply to you if your cam doesn’t have a removable battery (models without a removable battery like the Arlo Essential or Arlo Camera Pro 2).
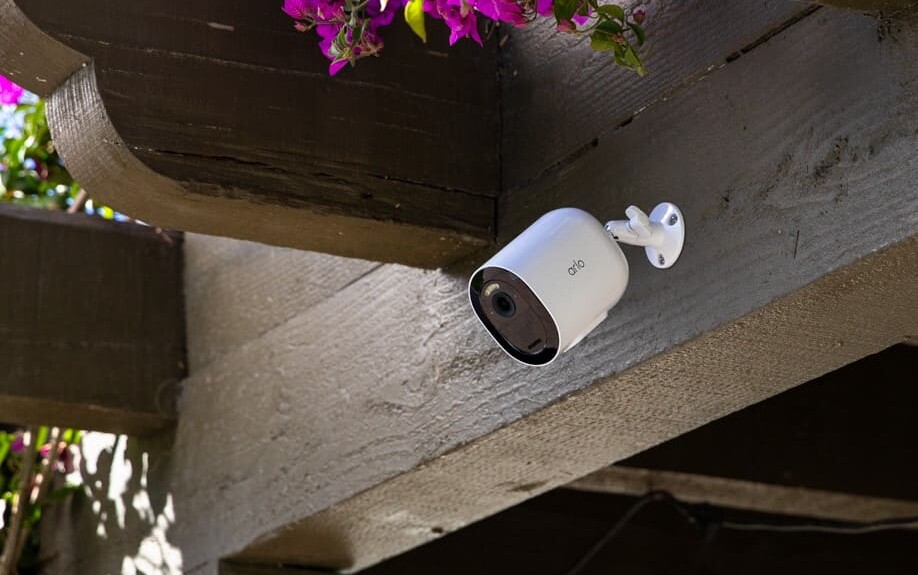
If your camera has a removable battery, such as the Arlo Cam Pro 3 or 4 or the Arlo Ultra, this tip can be a great solution for fixing the charging issue.
Follow these steps to re-insert your battery:
- Press the button next to the charging port underneath the camera.
- Pull the camera until it is entirely removed from the camera housing.
- Remove the battery by pulling on it until it slides out of the camera.
- Then reinsert it again.
Once you’ve done that, try recharging your camera. If the problem still persists, move on to the next solution.
Tip 4: Clean Battery Terminals.
Dirty terminals are another common cause of charging issues with your camera’s battery. When the terminals aren’t clean, the dirt can block the flow of electrical charges, preventing the battery from charging properly.
Cleaning your battery terminals will also help keep your battery healthy so it lasts longer and performs better.
Clean these terminals using synthetic microfiber cloths that are made of super-thin polyester threads, they trap an amazing amount of dirt and will help you avoid scratches while cleaning.
Tip 5: Check The Power Adapter.
As discussed earlier, the power adapter is an essential piece when it comes to charging your Arlo camera, it converts AC power from the wall outlet to the DC power needed by the camera to charge its battery.
Over time, this AC adapter can be damaged due to mishandling or severe electrical surges, resulting in the Arlo cam not charging.
In this case, I suggest trying a new AC adapter that you can buy from the Arlo store or Amazon and see if the battery is charging again.
Note: If you are using the solar charging panel, make sure it is mounted in a location where it can receive enough sunlight to charge your cam.
Tip 6: Replace The Battery.
The last tip in our article is to replace your battery.
Well, after you’ve been using the Arlo camera battery for a while and charging it over and over, it’s going to start to lose its juice and you’ll need to swap it out for a new one.
You can buy a new Arlo battery at the official Arlo store or from other marketplaces like Amazon or Walmart.
Then follow the next instructions to replace your battery:
- Press the button next to the charging port underneath the camera.
- Pull the camera until it is entirely removed from the camera housing.
- Remove the battery by pulling on it until it slides out of the camera.
- Align the new battery and insert it into the battery compartment.
- Insert the camera back into the camera housing until it clicks into place.
Note: This applies to the Arlo Ultra, Arlo Ultra 2, Arlo Pro 3, Arlo Pro 4, or Arlo Pro 5S camera.
Final Words.
To ensure you get the best results, it is crucial to implement the tips mentioned in this article correctly.
By doing so, you can expect your battery to charge properly and your Arlo smart camera to return to peak performance.
- Does Ring Camera Work Without Subscription? - January 23, 2024
- How To Secure Ring Camera From Hackers? - January 15, 2024
- Ring Camera Not Picking Up Motion? – (Here’s The Solution). - January 11, 2024

2 Comments
Comments are closed.