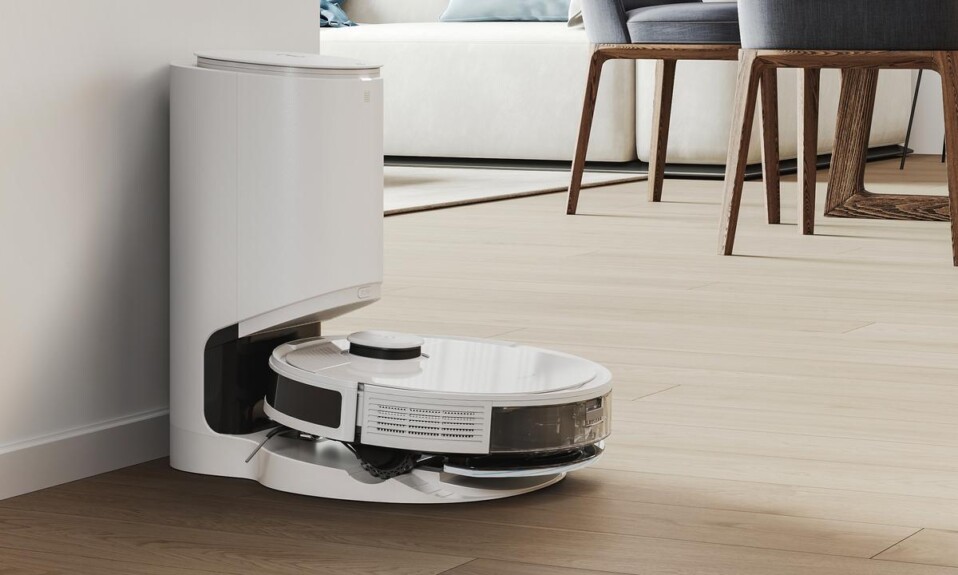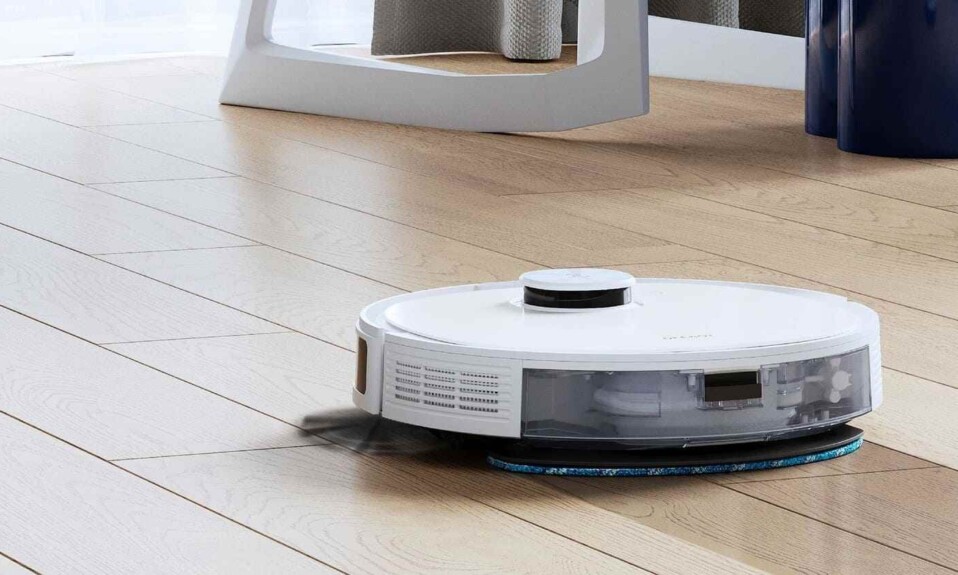

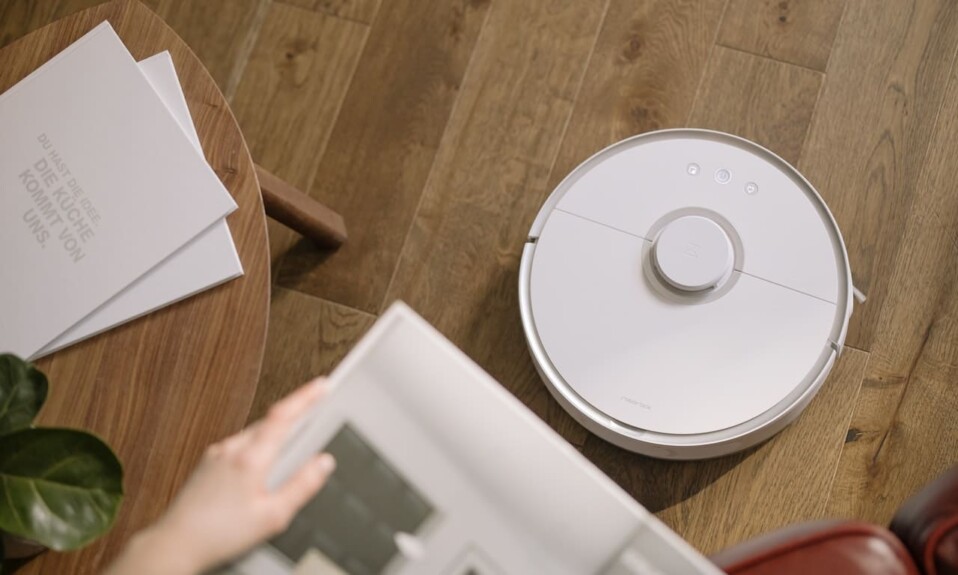
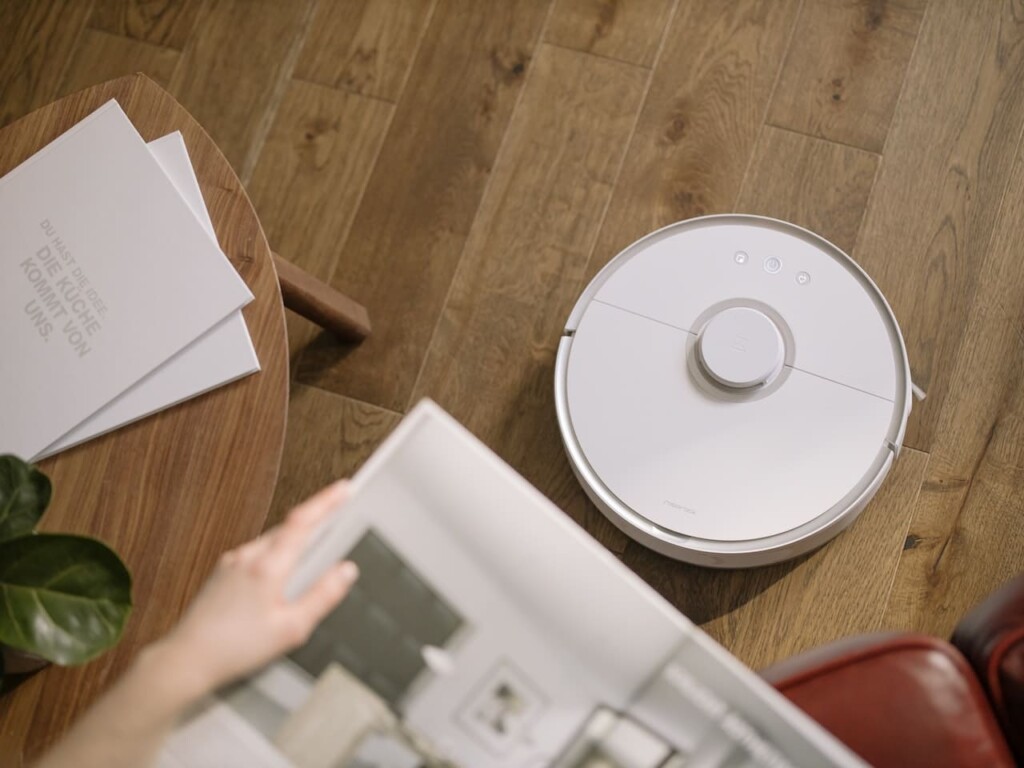
Many people use the Roborock Cleaner to vacuum and mop their floors, this device will do this task without human interference, which can be beneficial for homeowners, especially those who don’t have much time for household chores.
The Roborock has a 5200mAh battery that can run for up to 3 hours (180 minutes), which should be more than enough for most cleaning jobs.
After the battery is discharged, the robot will automatically go to the charging station to recharge.
Some users noticed that their Roborock does not charge when it returns to its station and they do not understand why and how to fix this problem. So our goal in this article is to show you how to troubleshoot the Roborock vacuum when it is not charging.
Sommaire
How To Fix Roborock Vacuum When It’s Not Charging?
In the next sections of this chapter, we will present you tips and tricks that can be the solution whenever your Roborock cleaner is facing charging issues, so keep reading.
Tip 1: Power Cycle The Robot Vacuum & the Charging Dock.
The first thing I recommend to start with when your Roborock isn’t charging is to power cycle it because this device work on software and hardware and may be overloaded with information or even overheat which affects performance and lead it to not charge.
So by removing power to the device, it refreshes the built-in RAM (internal memory) and allows the device to function almost like a new one.
Power cycle the robot vacuum by removing the battery and installing it again, and here’s how to do it:
- Turn off the robot
- Remove the dust bin.
- Remove the Omni-directional wheel.
- Remove the side brushes and main brush with its cover.
- Remove the battery cover using a screwdriver.
- Then locate the battery and remove it.
- Wait for 60 seconds and then install the battery and all other pieces you removed.
You can also power cycle the charging dock by unplugging it from the wall outlet, waiting for 60 seconds, and then plugging it back in.
Tip 2: Clean The Charging Station Connectors.
When your Roborock returns to its base station to charge, it will rely on the connection between the pins that are on the charging station and the connectors that are on the robot vacuum to recharge its battery.
The problem is that when these pins are not clean they can prevent this connection and the robot will not charge because the dirt will not allow the robot to get its electrical charges.
Make sure to clean these pins using synthetic microfiber cloths that are made of super-thin polyester threads, they trap an amazing amount of dirt and will help you avoid scratches while cleaning.
Tip 3: Update The Firmware.
The firmware is a crucial thing to run your Roborock, When the device is powered on, it is the first part to run and starts sending instructions to the device’s processor to execute.
Firmware is regularly updated by the manufacturer to fix bugs, improve security and keep the device running efficiently. So when your Roborock isn’t updated many issues may occur and can be the reason why your vacuum cleaner isn’t charging.
So make sure to keep your device up to date to prevent all sorts of problems that might occur including the charging issue.
Tip 4: Plug The Base Station Into Another Outlet.
When a wall outlet is damaged, the charging base can’t get the right amount of power to recharge your Roborock, so you need to check your outlet and see if it is the source of this problem.
You can conclude that your wall outlet is damaged if it has a burning smell, emits sparks, or feels hot to the touch. But to be 100% sure that the issue is coming from your wall socket try plugging the charging dock into another outlet and see if it works again.
Tip 5: Reset The Roborock Vacuum.
Factory reset is known as an effective way to troubleshoot any kind of problem your electronic device is facing, so it can be a real solution for your Roborock charging issue.
You need to know that a factory reset will delete all your setting and also every single cleaning log including every cleaning’s duration, size and map, this process will also disconnect your robot from Wifi and make its firmware version come back to the original one when it was made in the factory.
Here are the steps to follow in order to reset your Roborock:
- Hold the home icon button for 3-5 seconds.
- Use a pin to press the reset button next to the wifi LED just once, and the power button, home button and spot cleaning button’s light will be out. When you are doing this, please make sure the home button is still under your finger’s holding without moving.
- Keep holding the home button for 5 seconds after you press the reset button until the power button blinks again and you hear the tone “Restoring the initial version. It will take about five minutes. Please wait patient”, and then you could remove the finger.
Tip 6: Replace The Power Cable.
There is a power cable connected to the wall socket which is responsible for feeding the charging station with power, and when you notice that the robot is not charging, go and check that cable.
When the cable is damaged, it may not transfer enough power to the charging base or may not transmit power at all, which may result in the vacuum cleaner not being recharged.
So go and buy another cable and see if your base station is back to work.
Tip 7: Replace The Battery.
The Roborock vacuum cleaner works with a rechargeable lithium-ion battery that can last up to 180 minutes per cycle. After using this battery for a long period and recharging it several times it will lose its performance and need to be replaced.
You can buy this battery from websites like Amazon or Walmart and replace it by following the next steps:
- Switch off your Roborock vacuum cleaner.
- Pull out the dust bin.
- Remove the Omni-directional wheel.
- Take out the side brushes and main brush with its cover.
- Remove the battery cover using a screwdriver.
- Then locate the battery and detach it.
- Place the new battery and mount all other pieces you removed.
Tip 8: Take Your Roborock To The Technician.
If all the solutions mentioned before did not solve your problem, then the issue may come from the inside of your robot, here I recommend taking your device to a specialist to have it checked internally as the cause may be with the motherboard.
The Bottom Line.
Finally, we hope that the tips mentioned in this article were useful to you, and you can take this post as a guide every time your Roborock Vacuum Cleaner encounters charging problems.
- Does Ring Camera Work Without Subscription? - January 23, 2024
- How To Secure Ring Camera From Hackers? - January 15, 2024
- Ring Camera Not Picking Up Motion? – (Here’s The Solution). - January 11, 2024