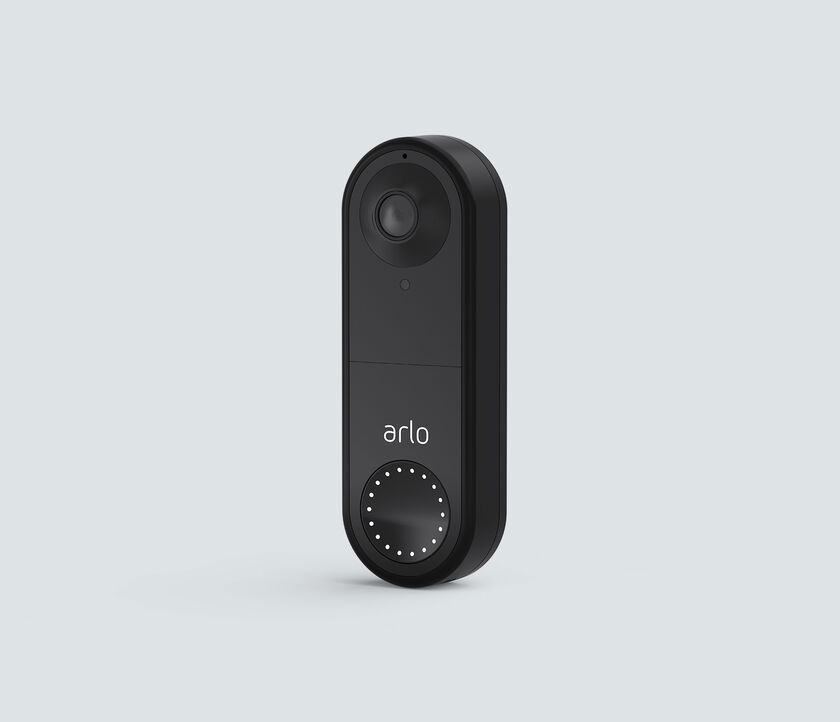


Charging issues are common among battery-powered devices, and the Arlo Essential Wireless Doorbell is no exception as I’ve found many of its users browsing the web looking for a solution to this problem.
As a tech writer, I’ve written many articles to help people troubleshoot charging issues with their home electronics. In this blog post, I’m excited to share five tips that can help you get your Arlo doorbell back to charge.
But before talking about the possible solutions, let me first answer an important question, which is why the Arlo battery doorbell isn’t charging.
Based on my experience in the tech industry, various reasons may cause your Arlo doorbell not to charge such as a faulty power adapter, damaged USB cable, broken outlet or a dead battery.
Sommaire
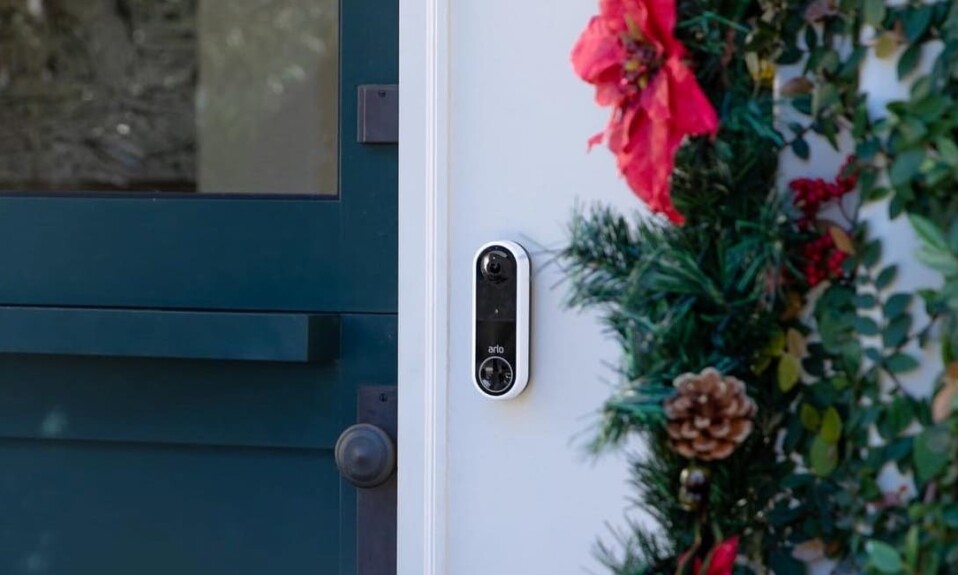
How To Charge The Arlo Doorbell?
By following these steps, you can effectively charge your wire-free Arlo Essential Video Doorbell.
- Gently remove the doorbell from its wall-mounted position.
- Detach the battery from the doorbell.
- Plug the USB cable into the battery and connect the other end to the power adapter.
- Insert the power adapter into a nearby outlet to begin the charging process.
- The LED lights red will appear while charging, then light green when fully charged.
But what you can do if you notice that your battery isn’t charging? This is what you’re going to find in the next chapter so keep reading.
How To Fix Arlo Doorbell Not Charging?
This chapter is going to be a lifesaver if you’re struggling to charge your Arlo doorbell. I’ve got a bunch of tips and tricks to show you, so stay focused.
And don’t worry, you don’t need to be a tech wizard to understand this stuff. I’m going to break it down to make it as simple as possible, so you can follow along without any headaches.
One: Plug Your Power adapter Into Another Outlet.
If you notice that your Arlo battery isn’t charging, the first step is to consider plugging the power adapter into a different outlet. As we mentioned earlier, one of the main reasons for charging issues can be caused by a damaged wall outlet.
If the battery starts charging normally when connected to another outlet, it means that the first one was not working properly. Damaged outlets can result from factors like overloading, loose connections, or electrical surges.
You can also determine whether your outlet is damaged or not by using a multimeter to test the voltage (The normal voltage reading for a standard outlet in the US should typically be between 110 and 120 volts).
Two: Check Your USB Cable.
Sometimes a faulty USB cable can disrupt the power flow to go from the AC adapter to the battery, which makes the charging process impossible.
So what we can do in this case?
To resolve this, inspect the USB cable for any signs of physical damage, such as frayed wires or bent connectors. If one of them is detected, I suggest replacing it with a new one.
Sometimes a faulty USB cable shows no physical damage, making it difficult to determine if this is the real cause of the problem. So it’s always recommended to try using a different cable to come to a conclusion.
Three: Check The Power Adapter.
Another thing to consider checking is the power adapter, this part is just as important as the others mentioned above as it’s behind converting the AC voltage into a lower level DC voltage and providing it to the battery to recharge itself.
So if you have tried the previous solutions and your battery is still not charging, then I suggest taking a closer look at your power adapter.
How can I know if my adapter is the root cause of my issue?
There are many signs that can affect the flow of electricity and indicate a problem with the adapter such as loose connections, physical damage, overheating, burning smell or hear strange noises, such as buzzing or crackling sounds.
As we said earlier with the USB cable, sometimes there is no clear evidence that your power adapter is damaged so it’s always recommended that you try a new one to determine if this is the real cause.
Four: Clean Battery Terminals.
Dirty terminals are also a frequent cause of charging issues with your Arlo doorbell’s battery. When these terminals are not kept clean, the accumulation of dirt can stop the smooth flow of electrical charges, resulting in inefficient battery charging.
So taking the time to clean your battery terminals is essential for maintaining the health and longevity of your battery and ensures optimal performance over time.
To effectively clean these terminals use synthetic microfiber cloths crafted from ultra-thin polyester threads. These remarkable clothes possess an exceptional dirt-trapping capability, enabling you to avoid scratches while achieving a thorough cleaning.
Five: Replace The Battery.
The Arlo Wire-free doorbell runs on a lithium-ion battery that can last up to 6 months (this period will vary with device settings, use, activity captured and environmental factors).
However, Rechargeable Lithium-Ion batteries have a limited lifespan and will gradually lose their capacity to hold a charge (The typical estimated life of a Lithium-Ion battery is about two to three years or 300 to 500 charge cycles, whichever occurs first).
So if you have been using the Arlo battery for a while and you’re dealing with charging issues then you should consider replacing it with a new one.
The Arlo battery cost around 50 dollars, you can buy it from the Arlo online store or on marketplaces like Amazon or Walmart.
In Summary.
That’s all I have for you in this article but if these steps fail to fix the problem, consider seeking professional assistance or reaching out to Arlo customer support for further assistance or a possible replacement if your unit is still under warranty.
- Does Ring Camera Work Without Subscription? - January 23, 2024
- How To Secure Ring Camera From Hackers? - January 15, 2024
- Ring Camera Not Picking Up Motion? – (Here’s The Solution). - January 11, 2024