

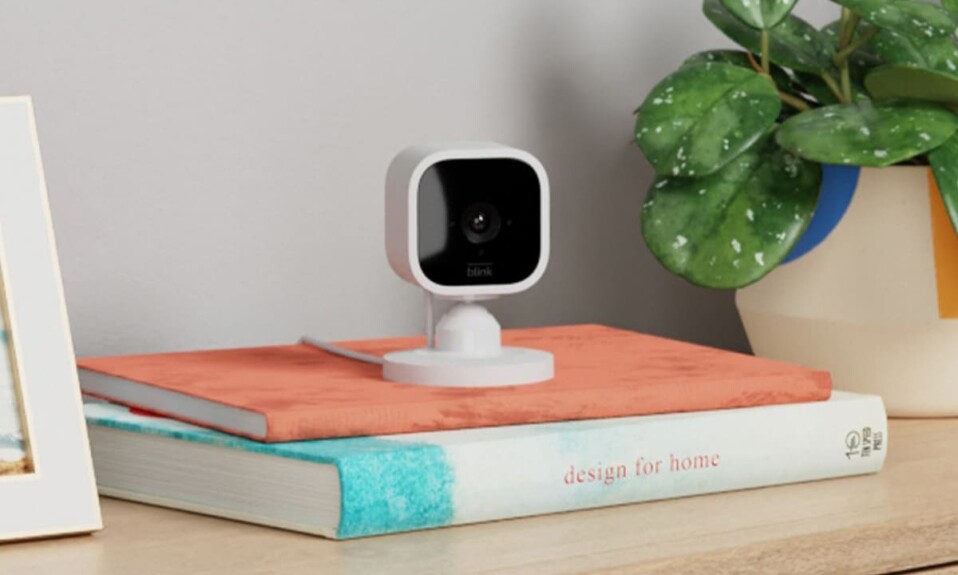

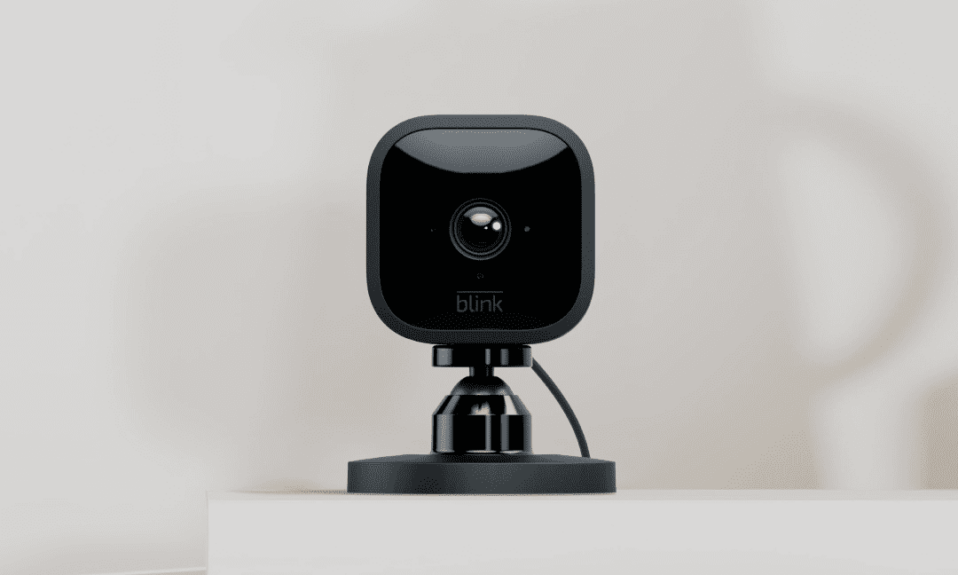
Local storage is one of the most useful features of the Blink camera and doorbell and it’s an advantage that sellers use to convince people to buy.
This feature allows users to save clips on a flash drive, which can be useful when the Internet is down or when the subscription hasn’t been renewed.
That’s a good thing, yeah?
I’ve nothing against local storage, I consider it a nice feature as it can save everything that happens inside our home when there is no internet and the device can’t upload clips to the cloud.
But many people have found that sometimes their Blink device stops recording to the USB flash drive, causing local storage to stop working.
For that, I recommend having both the cloud and local storage working at the same time on your camera to avoid this kind of issue.
Sommaire
How Do I fix Blink Local Storage Not working?
Now let’s deal with the main topic of this article, which is how to fix Blink’s camera and doorbell when they’re unable to store clips locally.
I’ve prepared ten solutions to fix this issue and I will present them to you in detail in the next sections, so keep reading.
Note: The tricks I’m going to show you are simple and don’t require you to be an expert to try them, so don’t worry if you’re not very tech-savvy.
One: Re-insert The Flash Drive.
Let’s start with the easiest solution on our list which consists of taking out the USB flash drive, and inserting it back into the sync Module.
This process is useful because sometimes the sync Module loses its connection to the flash drive and this step will help it recognize it again.
Note: You need to safely eject your USB flash drive to ensure that all data you transferred is properly written to the USB flash drive (this ensures that you don’t lose vital data in the transfer process).
Here’s how to eject your USB drive safely:
- Open The Blink app on your mobile or tablet.
- On the Home screen find the Sync Module banner, and tap it.
- Then select “Local Storage”.
- Then tap on the “Safe Eject” blue button.
- Now, wait to receive the “USB Disconnected” message. When the USB icon changes to ‘inactive’, you can remove the drive from your Sync Module.
After that wait a few minutes and then re-insert the USB drive into the Sync Module to reconnect.
Two: Power Cycle The Sync Module.
The second trick is to power cycle the Sync Module, this trick is done with almost all electronic devices when they have problems and it works well.
Here are the steps to follow to power cycle the Blink Sync Module:
- Unplug the power cord from the wall outlet.
- Wait for 10 seconds.
- Then plug in the power cord again and turn your Sync Module on.
- The device will reboot and then reconnect within 45 seconds.
Three: Power Cycle The Camera & Doorbell.
You can also restart the Blink camera & your doorbell (whichever device you are using) as this may be the cause of your issue and is the reason why local storage isn’t working.
rebooting your camera can fix internal firmware errors that may cause recording problems.
To power cycle the Blink doorbell and wireless camera, you must remove the batteries, wait 2 minutes, then plug them back in and launch your device.
If you have the Blink Mini camera, you must unplug it from the wall outlet and then plug it back in after waiting a few seconds.
Four: Update The Blink Home app.
All devices including Blink Camera, Doorbell, and Sync Module are configured on the Blink Home Monitor app, so proper operation of this app is mandatory.
When this app encounters problems, the Blink security system may experience some troubles, including local storage issues.
The Blink app may face issues when it’s not updated, so make sure you update it each time the company releases a new update.
I recommend setting the app to be updated automatically, here’s how:
To automatically update apps on your iOS device:
- Go to Settings.
- Select General, then Tap Software Update.
- Choose Automatic Updates, then turn on Automatic Updates by swiping the button to the right.
To automatically update apps on your Android device:
- Go to the Google Play Store app.
- Select Menu and then Settings.
- Choose Auto-update apps.
- Select an option:
- Over any network to update apps using either Wi-Fi or mobile data.
- Over Wi-Fi only to update apps only when connected to Wi-Fi.
Note: Also make sure to update your Blink devices firmware including the camera, doorbell and Sync Module.
Five: Force Stop The Blink app.
Force stop the Blink Home Monitor app can be useful when it malfunctions even after an update and the operating system does nothing about it.
Here’s how to force stop the Blink Home app on an IOS device:
- To quit the app, open the App Switcher, swipe right to find the Blink app, then swipe up on it.
- If you are on iOS 11, tap and hold the app instead of swiping it away. When the red minus symbol appears on the app card, tap it to quit the app.
And here are the steps to follow on Android:
- Open the Settings app on an Android device.
- Scroll the list and tap Apps, Applications or Manage apps.
- Scroll the list to find the Blink Home Monitor app to force quit.
- Tap FORCE STOP.
Now open the Blink app and see if it works normally, if not proceed to the next solution.
Six: Re-add The Sync Module To The App.
Deleting the Sync Module from the app and adding it again is a good way to fix your local storage issue and this trick is suggested by the Blink company.
Note: The only drawback with this troubleshooting tip is that the settings and configurations of the Sync Module will be removed from the app.
Here’s how to re-add the Sync Module from the Blink app:
- Open The Blink app.
- Go to the Home screen and then go to your Sync Module setting page.
- Then tap on the red button “Delete Sync Button”.
- Then tap on the “+” button to add a device.
- Then choose the type of device you want to add (Sync Module or Sync Module 2).
- Follow the in-app instructions to complete the process.
Seven: The USB Flash Drive is Full.
According to Blink, when the USB flash drive has less than 375 MB of storage available, it is considered “Full”.
You’ll be alerted by the Blink app, and no more clips are stored until additional drive space is available.
Here I suggest safely ejecting the flash drive from your sync module and then plugging it into your laptop to remove unwanted clips and free up space.
Eight: Format The USB Flash Drive.
If the file system of your USB flash drive is corrupted, clips recorded by the camera can’t be saved to the thumb drive.
Here it is recommended to format the USB drive, and there are two types of formatting including quick and full format.
The quick format will delete the file system table and the root folder, it’s used to free up the available space to transfer or store other files.
The full format looks for bad sectors and writes zeros to all sectors, which permanently deletes all data and may take longer than the first method.
Here’s a how to format your thumb drive on Windows:
- Insert a USB drive into the computer’s USB port.
- Open File Explorer.
- Click on This PC from the left pane.
- Click on the “Devices and drives” section.
- Then choose the flash drive and select the format option.
- Use the “File system” drop-down menu and select the preferred option.
- In the “Allocation unit size” drop-down menu, use the default selection.
- In the “Volume label” field, confirm a drive name that will appear in File Explorer.
- Under the “Format options” section, select the Quick format option or don’t depend on the use case.
- Click the Start button, then on the Yes button.
Nine: Try Another USB Flash Drive.
If formatting didn’t solve your problem, you can test a new USB drive and see if it works, as your current flash drive may be damaged.
The new USB drive must be from 1 GB to 256 GB in size and have more than 375 MB of free space.
So if you test it and you notice that’s working normally then what you need is just to continue with the new USB drive to store your clips.
Ten: Reset The Sync Module & The Blink Cam & Doorbell.
If all the previous solutions did not fix your problem, I recommend that you implement a factory reset on all your Blink devices in the system, start resetting one by one and test in between.
Start with the Sync Module:
- Locate the reset button at the side of this hub next to the USB port.
- Pick a needle or a paperclip and press and hold the reset button for 5 seconds.
- Then go delete and reinstall it again on the Blink app
Here’s how to reset the Blink Mini camera:
- Pick a paperclip or a needle.
- Press and hold the reset button for more than 5 seconds.
- A red and blue light will flash rapidly shortly before the button is released.
- The blue light will then slowly blink, which indicates the camera is ready to be added to a system.
And here are the steps to factory reset the Blink doorbell:
- Pick the metal opening key attached to the paper template in the doorbell packaging.
- Remove the doorbell from the faceplate.
- Make sure that the batteries are in.
- Then press and hold the reset button until the red light flashes on the front of the doorbell.
Final Words.
I think that the article has all that you need to fix the Blink local storage issue.
If all the tips mentioned in this article have not worked for you, then I think the problem may be with the hardware.
So you can contact customer support or talk to an expert to investigate the problem further.
- Does Ring Camera Work Without Subscription? - January 23, 2024
- How To Secure Ring Camera From Hackers? - January 15, 2024
- Ring Camera Not Picking Up Motion? – (Here’s The Solution). - January 11, 2024


1 Comment
Comments are closed.