


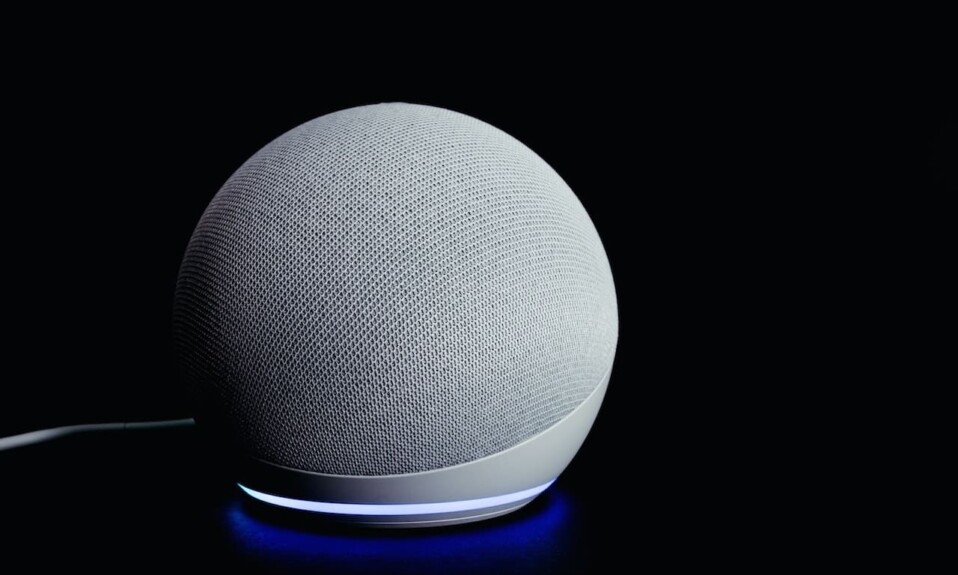
Echo Dot is one of the most popular smart speakers in the market, it was built by Amazon and it uses Alexa voice assistant to control connected home electronics such as your doorbell, security cameras, door lock, and many more, it is also used to set timers and listening to audio-books, getting the latest news and weather forecast.
This device is addictive and it has become an essential piece for people who use it to control their smart home gadgets to avoid using mobile apps due to visual limitations, especially for elderly people.
But sometimes this device disconnects and all the features it offers will not be available until you bring it back online, so users are asking why does Echo Dot keeps losing connection?
Many reasons will cause the Echo Dot to lose connection, such as weak Wifi signals, interference with other gadgets using the same frequency, old firmware updates, internet subscription expired, an issue in your router or the bandwidth is not sufficient.
This article will lead you through all the solutions that you need to implement to get your Echo Dot back to work when it loses connection.
Sommaire
How do I fix the Echo Dot when it loses connection?
Now we’re going to jump into the solutions that you can use in order to get your Echo dot back online again and the tips we are going to show don’t require you to be tech-savvy to implement them.
Step 1: Update Wifi credentials.
Maybe you have changed your Wi-Fi password for security or other reasons and you forgot to update it in your Echo Dot, this way your device never gets the Wifi connection and it won’t connect until you put in the correct password.
This is how to change Wifi credentials on the Alexa app:
- Launch the Alexa App on your mobile or tablet.
- Select Devices at the bottom right of the screen.
- Choose Echo & Alexa.
- Then select your device.
- Select Settings and under Wireless, select Wi-Fi Network
- Follow the instructions in the app.
Step 2: Turn off VPN and firewalls.
Generally speaking, when the Amazon Echo Dot first connects to your network, the virtual private network (VPN) and firewalls should be temporarily disabled until the Echo Dot connects, as you cannot tie a device to a network where the VPN and firewalls are on.
Step 3: Power Cycle your Echo Dot.
I always recommend power cycling connected devices when they lose internet connection because this process will help the gadget to recover from an unresponsive state of its mission-critical functionality, such as in a crash or hang situation.
Here’s how to power cycle the Echo Dot:
- Unplug your device from the power outlet.
- Wait for few seconds.
- Then plug it back in.
- If you’re using it with a battery: remove and reinsert the batteries to restart the device.
Step 4: Power Cycle your router.
If power cycling your Echo Dot didn’t fix the issue go and power cycle the router as it allows the router to reselect the least crowded channel for each frequency, which means a stronger connection to your Echo Dot.
Follow these instructions to power cycle your router:
- Unplug the router from the power outlet.
- Wait for 30 to 60 seconds.
- Then plug it back in.
Now go and test your Echo device if it is back to work by asking it a question or giving it a command and if you notice that’s still offline jump into the next tips.
Step 5: Switch the frequency channel.
If you have a dual-band router that supports the two frequencies (2.4GHz and 5GHz) disconnect from the network you’re using, and try to connect to the other one may be the channel you’re using is currently crowded and cause interference issues.
Step 6: Change your router or Echo Dot location.
According to Amazon, the Echo device should be within 30 feet (or 10 meters) from your wireless router, so if the distance is bigger than that get ready for connection issues.
To solve this problem change the placement of your router or your Echo Dot, if it’s impossible to change their placement add a Wifi range extender to let the Wifi signals reach all your gadgets inside your house.
Step 7: Reset your router.
If all previous solutions and tips didn’t resolve issues I recommend resetting your router as resetting can fix certain internet connectivity issues, from no Internet connectivity to slow wireless connections.
- Check if the router is turned on.
- Pick a paperclip or a needle to press the reset hole at the back of the router.
- Hold down the needle for 30 seconds.
- Release the Reset button and wait 30 seconds for the router to fully reset and power back on.
Step 8: Reset your Echo Dot.
Resetting your Echo Dot is also a good solution when you’re facing connectivity issues but make sure to set it up again to the Alexa app.
Note: When resetting this device all your settings will be lost and it will back to its factory settings.
To reset Echo Dot (2nd Generation):
- Press and hold the Microphone off and Volume down buttons.
- Wait for 20 seconds until the light ring turns orange.
To reset Echo Dot (3rd or 4th Generation):
- Hold down the Action button for 25 seconds.
- The light ring will pulse orange, then turn off.
- Wait for the light ring to turn back on and turn blue.
- The light ring then turns orange again and the device enters the setup mode.
Step 9: Internet speed.
Amazon suggests an internet connection with speeds of at least 0.51 Mbps, this amount of speed will be enough for your Echo Dot to stream content through Alexa if you can’t give this amount of speed to this device you may experience connectivity issues.
You can check this article to see how much data does Echo Dot uses.
Step 10: Update the firmware.
The Echo Dot is built to be updated automatically without your intervention as soon as it’s not busy doing another task like controlling your devices or answering your questions or whatever.
It is also difficult to perform an automatic update when this gadget is placed in an environment full of noisy people like your living room or an open office where it will constantly have to determine if someone is talking to it or not.
Here’s how to check your firmware version:
- Go to alexa.amazon.com
- Login to your account.
- Then go to Settings.
- Select your Echo Dot device.
- go to the About section, and check the Device software version.
- Go to this website and see if latest software version for your Echo Dot.
- If you see that the Echo Dot has an older version installed, so it needs to be updated.
Follow these steps to update your Echo Dot:
Note: After updating your device you’ll experience fewer connection issues because a new update will fix all bugs that were causing these problems.
- Ensure that your Echo Dot is on and connected to the internet.
- Hold down the mute button for a few seconds.
- Check if the ring light turns red, or the mute button turns red.
- Wait for a few seconds or minutes or maybe half an hour.
- Alexa will announce that she needs to perform an update and proceed with the installation.
- If it’s already updated, it won’t update.
Step 11: Contact customer support.
The last solution to do when all previous solutions don’t work for you which is something rare is to contact Amazon customer support through their website, they’ll assist you if you have a problem with the device.
- Does Ring Camera Work Without Subscription? - January 23, 2024
- How To Secure Ring Camera From Hackers? - January 15, 2024
- Ring Camera Not Picking Up Motion? – (Here’s The Solution). - January 11, 2024


2 Comments
Comments are closed.