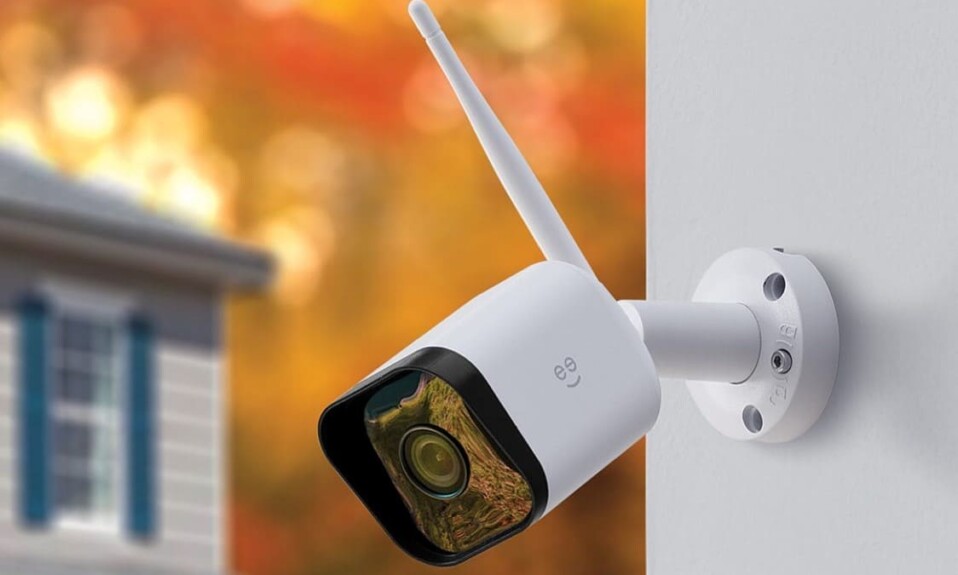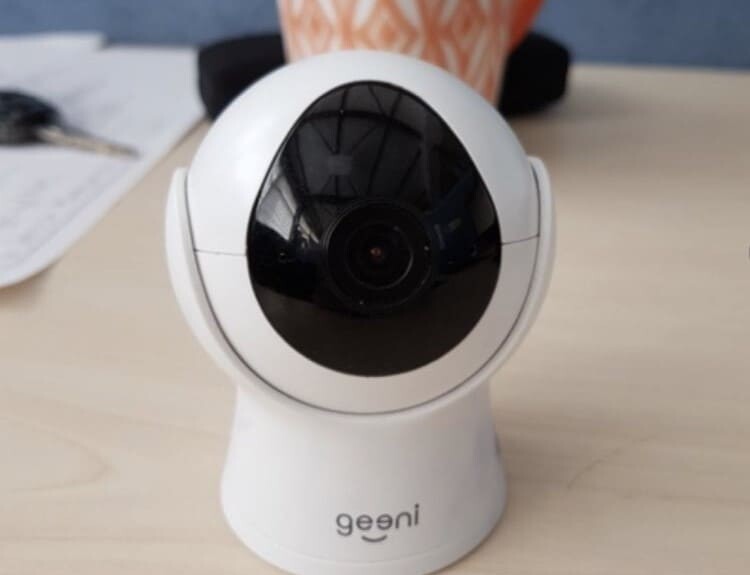
Geeni camera cloud storage isn’t available at the moment, so when the device detects sound or motion, it records and stores the footage locally on a microSD card.
This has some advantages as it keeps your footage on your camera without sending data to the server, which means you don’t have to pay a monthly fee to operate your device.
Another benefit of storing your footage locally is that your recordings are less susceptible to data breaches or someone viewing them without your permission.
So far everything seems perfect.
When I was doing a web search I noticed many users complaining that their Geeni camera isn’t recording.
Does that mean local storage is a bad idea?
Of course not and let me tell you that this issue can happen with any camera regardless of the brand and whether the storage type is cloud-based or local.
In the rest of this blog post, I’ll show you different tips and solutions that will help you fix this problem.
Sommaire
How To Fix Geeni Camera Not Recording?
In many cases, this problem is temporary, so I have prepared 6 different solutions that you can try every time your Geeni camera stops recording.
Don’t worry, the tricks I’m going to show you are easy to understand and you don’t need to be tech savvy to implement them.
Tip 1: Re-insert The microSD Card.
Reinserting the SD card is the first thing I suggest doing when you notice that your Geeni camera has stopped recording.
This trick can help you if the camera doesn’t read the microSD card, also when removing the card, make sure that the memory card terminal isn’t dirty.
If you notice dirt on the memory card terminal, try cleaning it with a Q-Tip moistened with an IPA (isopropyl alcohol) +90% or use a regular pencil eraser.
Be sure not to rub too hard to avoid damaging the card, just enough to ensure the contacts are clean and shiny.
After that, insert the memory card into the camera and test if it records.
Note: Make sure your card size doesn’t exceed 128GB, as this is the limit that the Geeni camera’s built-in SD slot can support.
Tip 2: Power Cycle The Geeni Camera.
Power cycling your Geeni camera is another solution you can try if the previous tip didn’t have any impact on your recording issue.
This process will help your camera fix internal software errors and bugs that may be preventing the device from reading the microSD card and which may be the main reason why your camera isn’t recording.
This tip is easy to implement all you have to do is unplug the Geeni camera from its power source and wait about 60 seconds, then plug it back in.
Tip 3: Check The Ambient Temperature.
Another reason that causes your security cam to stop working is the ambient temperature. In general, smart home cameras operate in a temperature range of -4°F to 122°F (-20°C to 50°C).
So you must ensure that the Geeni camera works within this range, otherwise, the hardware component will be damaged and the camera will stop working.
Also, make sure not to mount the Geeni camera in a location where it will be exposed to direct sunlight as this may cause overheating and damage internal components.
Tip 4: Format The SD Card.
Your memory card may be corrupted if it has been used on multiple types of devices or if it has been physically removed from a device while a file is being accessed or transferred.
In this case, I recommend that you format your card to erase all data inside and ensure that it’s compatible with your Geeni camera.
The quick and full formats are the two options for formatting your microSD card, and each of them has its own purpose.
In your case you need to implement full format as it will delete all data, quick format is used to free up space to transfer or store other files.
Here are the instructions to follow:
- Put your microSD card on a USB card reader.
- Insert the USB card reader into the computer’s USB port.
- Open File Explorer.
- Click on This PC from the left pane.
- Click on the “Devices and drives” section.
- Then choose the microSD card and select the format option.
- Use the “File system” drop-down menu and select the preferred option.
- In the “Allocation unit size” drop-down menu, use the default selection.
- In the “Volume label” field, confirm a drive name that will appear in File Explorer.
- Click the Start button, then on the Yes button.
Tip 5: Use Another microSD card.
If formatting your microSD card didn’t have any impact on your camera and it’s still not recording, then I suggest using another card as your current card might be damaged.
The manufacturer recommends its users to use Class 10 and UHS-1 or higher SD cards such as the following ones:
- 16G: Sandisk Extreme, Kingston 16GB SDHC-I SDCAC/16GB.
- 32G: Sandisk Extreme V30, Sandisk Extreme V30 A1, Sandisk Extreme V30 Pro A1.
- 64G: Sandisk Extreme V30 A1, Sandisk Extreme Pro V30 A1.
- 128G: Sandisk Extreme V30 A1, Sandisk Extreme Plus V30 A1.
Tip 6: Reset The Geeni Camera.
Resetting your Geeni camera is a powerful solution that will fix many bugs and internal errors that may be the root cause of your recording issue.
The only downside to this trick is that all your settings and preferences are going to be deleted from the device and you’ll have to setup the camera from scratch.
To reset the Geeni camera, press and hold the reset button on the device for 5 seconds. After that, you’ll receive a voice prompt confirming that your device has been reset successfully.
Conclusion.
That’s all I have for you in terms of tips and tricks to fix your Geeni Camera recording issue, I hope the solutions listed above were helpful.
You can always contact customer support if you have further questions.
- Does Ring Camera Work Without Subscription? - January 23, 2024
- How To Secure Ring Camera From Hackers? - January 15, 2024
- Ring Camera Not Picking Up Motion? – (Here’s The Solution). - January 11, 2024


