

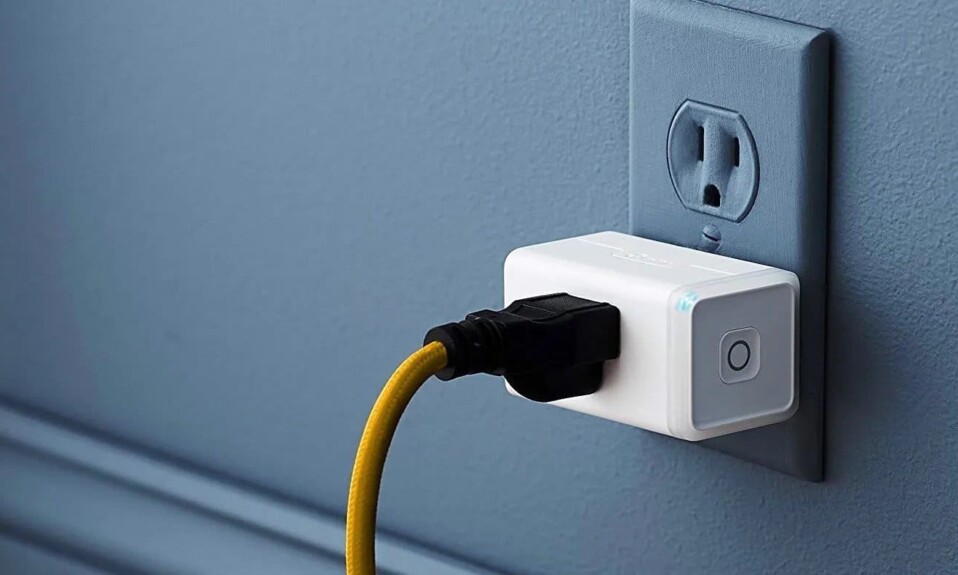
Kasa Smart Plug was one of many people’s favorite plugs in recent years due to its features such as remote control, the ability to track power consumption, and the possibility to set schedules and timers.
All these features have made Kasa Plug the right gadget to choose when we want to control our household appliances with a simple click via our smartphone.
But one defect that all users have been complaining about for a few years is the compatibility of this device with Apple HomeKit.
Kasa Plugs were not compatible with HomeKit, which led to the dissatisfaction of many people who were used to managing their devices from this platform.
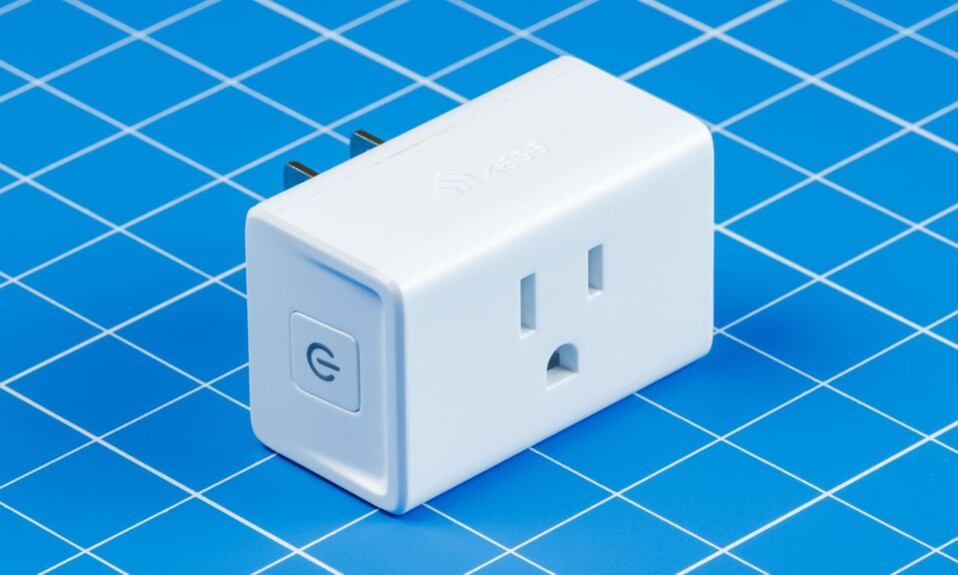
For this reason, the company has gone the extra mile and announced its new model which is called the EP25 model to meet the demand of these customers.
The EP25 model offers features available in the previous version such as energy monitoring, remote control, scheduling, etc., but the specificity of the EP25 is its compatibility with Apple HomeKit, which will allow you to easily integrate your device into your Apple ecosystem for even more convenient ways to control it.
You can get 4 packs of Kasa Plug EP25 from Amazon or directly from their store for $49.99, making it $12.50 for each.
In the following chapters of this article, we will show you the steps to connect the Kasa Plug to Apple HomeKit and how to use this feature and what are the advantages of this integration.
Sommaire
How to Connect Kasa Smart Plug to Apple HomeKit?
The steps to pair your Kasa Plug EP25 with Homekit are not that complicated and the whole process can be done in just a few minutes, with this article you won’t need anyone’s help.
The company recommends factory resetting the plug before the configuration, so how do you reset this device?
While the plug is powered up, press and hold the power button on the right panel of the plug for about 10 seconds until the LED flashes amber rapidly to factory reset the plug.
After resetting the gadget, download the Apple Home app and create an account if you don’t have one.
Now follow these instructions to set up your Kasa plug and pair it with Apple HomeKit:
- Open your Kasa Smart app on mobile or tablet.
- Tap + on the upper right corner and select your plug.
- Power up your plug and check whether its LED blinks the color required (If not, please factory reset your plug).
- Then tap Add to Home and add your device to home, and authorize Kasa to access your Home data to be able to control your plug from the Apple Home app.
- Scan the HomeKit QR code at the bottom of your plug to automatically add the gadget.
- Your device is added to the Home app successfully.
- Edit its name and choose which room it is in.
- Click Next, and set a scene if you want.
- Tap Done.
Siri’s voice commands to control and manages your Kasa Smart Plug.
Now when your Kasa Plug is successfully connected with Apple HomeKit you can rely on your Apple devices such as your iPhone or iPad to control the devices that are linked to the plug using Siri voice assistant.
Voice commands are helpful when your hands are full to control your lights and appliances. and these are some examples:
- “Hey Siri, Turn on my living room lamp”.
- “Hey Siri, Turn off the fan”.
- “Hey Siri, Dim my bedroom lamp”.
- “Hey Siri, Dim my Bedside lamp to 30%”.
- “Hey Siri, make my kitchen bulb to blue”.
You can also go directly to the HomeKit app on your IOS device or MAC to change the light temperature and color, adjust the brightness, or turn on and off home appliances.
Note: If you notice that the device isn’t responding to your commands that can be due to connectivity issues, here’s an article that can help you fix this: “7 Tips To Fix Kasa Smart Plug Not Connecting To Wifi”.
How to get notifications from your Kasa Plug on the Apple Home app?
You can receive Kasa Plug notifications such as energy monitoring alerts, or when a device turns on or off via the Apple Home app on your iPhone, Mac, or other HomeKit-enabled devices such as the Apple HomePod.
You make this possible by turning ON the notifications function on each device, and here’s how to do it:
On your iPhone, iPad, and iPod touch:
- Launch the Home app.
- Click on Home Settings.
- If you have multiple homes, tap Home Settings.
- Then tap a home.
- Under Notifications, choose the type of accessories like Plugs.
- Then tap an accessory and turn ON Allow Notifications.
On your Mac:
- Open the Home app.
- In the menu bar, go to Edit then Edit Home.
- Under Notifications, choose the type of accessories like Plugs.
- Then clicks an accessory and turn ON Allow Notifications.
Remove the Kasa Smart Plug from HomeKit.
If you’re not satisfied with the HomeKit integration and you want to switch to Amazon Alexa or Google Home, you can easily remove the plug from the app by following these instructions:
- Go to the Home app.
- Find the Kasa Plug you want to remove, You can find all your accessories from the Home section or Rooms section of the app.
- Press on the accessory to view its controls and access other options.
- Scroll down and tap on Remove Accessory to remove the Kasa Plug from your home.
- Tap on “Remove” again.
Conclusion.
Finally, I want to say that HomeKit integration has many benefits for users, such as scene creation, Siri voice control capability, device integration with the rest of the Apple ecosystem, And much more.
Kasa has therefore taken a very important step to satisfy its users, which will make this device more popular than before.
- Does Ring Camera Work Without Subscription? - January 23, 2024
- How To Secure Ring Camera From Hackers? - January 15, 2024
- Ring Camera Not Picking Up Motion? – (Here’s The Solution). - January 11, 2024


1 Comment
Comments are closed.