
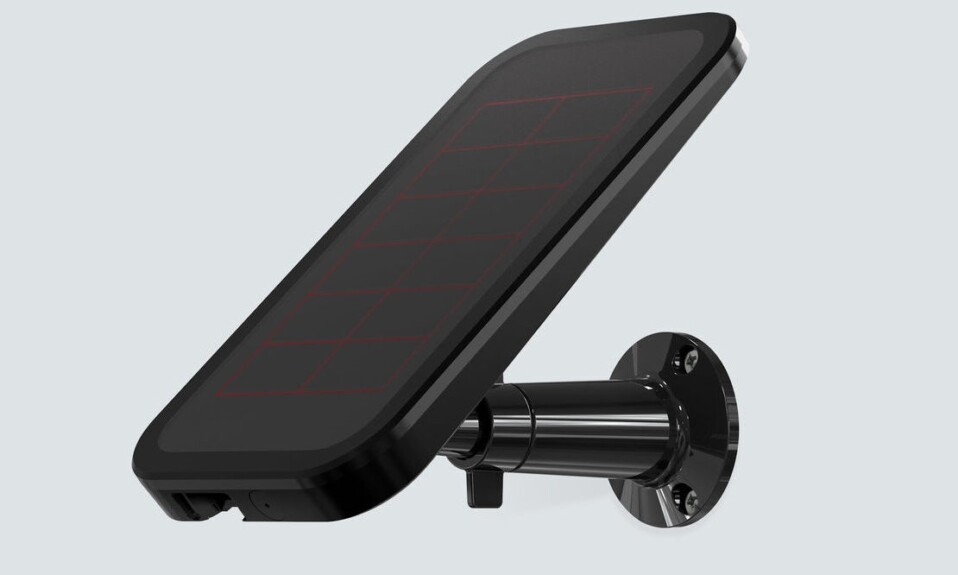
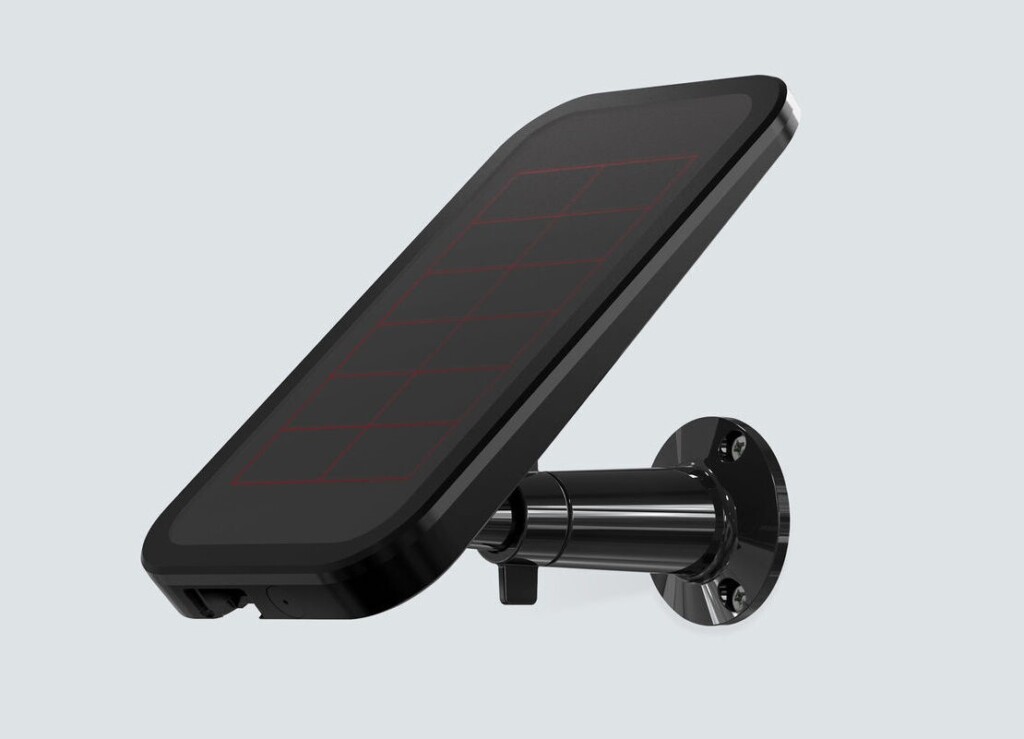
Many people with an Arlo security camera have opted for the Arlo Solar Panel. This panel helps users keep their cam charged all the time without any manual interference.
Another advantage of this panel is that it takes all the energy from the sun, which makes it attractive for eco-friendly people.
However, I recently discovered that some users are already complaining about this device and saying that the panel has stopped working.
If you came to this article, then there is a high chance that you’re one of those users.
Please allow me to clarify that the malfunctioning of this panel doesn’t necessarily mean that your device is faulty, nor that the product isn’t worth the investment.
Maybe the problem just occurs due to installation errors, incompatible cameras, positioning issues or misuse.
There are other causes that may lead to this issue, such as bad weather conditions, ambient temperature exceeding safe limits, or a dirty solar panel.
So keep reading to find out how to fix Arlo solar panel charging issue.
Sommaire
How To Troubleshoot Arlo Solar Panel Not Charging?
Before we start talking about the solutions that will get your solar panel back to work, I suggest first checking if the camera is compatible with the panel you purchased.
The VMA5600 Solar Panel is compatible with Arlo Ultra 2, Ultra, Pro 5S, Pro 4, Pro 3, Go 2 and Pro 3 Floodlight Camera. While the VMA4600 version works with Arlo Pro 2, Pro, Go and the Arlo Security Light.
And The VMA3600 model operates with the Arlo Essential Camera, Essential Spotlight Camera and the Essential XL Spotlight Camera.
If you find that you have no compatibility issues, then let’s start with the solutions.
Solution 1: Make Sure You’ve Installed The Panel Properly.
The optimal performance of the Arlo solar panel is highly dependent on a good installation process, it’s crucial to carefully consider every aspect of the installation process to ensure its success.
So what are the essential factors to keep in mind when installing this device?
The first thing to keep in mind during the installation is the positioning of the panel, make sure it’s pointed toward the sun and is not obstructed by trees, buildings, or other obstacles.
Experts recommend installing your solar panels facing true south if you’re in the northern hemisphere or true north if you’re located in the southern hemisphere.
Another thing to consider before plugging the panel cable into the camera is to ensure that the battery is fully inserted because the panel can’t power the camera if no battery is inserted.
Also, remember to fully charge the camera’s battery before connecting the solar panel, because the panel provides a simple charge to keep the battery charged, not to charge it from low to full.
Solution 2: Check The Charging Cable.
The charging cable plays an important role in transmitting power from the solar panels to the camera battery. Without it, the solar panel is useless.
So, if you notice that the battery isn’t charging, I suggest you check the cable for any damage or defects, as it may be the root cause of the problem.
If you see that the cable is chipped or frayed, that is most likely the source of the problem, so you can contact customer support and they will tell you if it’s replaceable.
If you don’t notice any physical damage, I recommend that you unplug the cable from the camera, reconnect it, and see if it works again.
Solution 3: Check The Ambient Temperature.
Another thing to consider is the ambient temperature, the operating temperature of the Arlo solar panel ranges from 32° to 122°F (0° to 50°C).
For safety reasons, don’t charge batteries in temperatures below freezing, even if the camera is plugged in. The Arlo Solar Panel is also unable to charge the battery in temperatures below freezing.
When charging at a high temperature the life cycle of the battery is negatively affected, the heat causes false positive batteries to show as fully charged when in reality, they are often well below capacity.
Solution 4: Clean The Panel.
Any dirt or debris on the surface of the Arlo solar panel can affect its capacity at absorbing sunlight which can reduce its efficiency and lead to charging issues.
What you can do here is pick a damp cloth and clean the surface of the board of all dust, debris, and other contaminants such as leaves and insects, which can further reduce efficiency.
I would recommend that you clean the panel occasionally to avoid building up too much dirt and prevent this kind of problem.
Solution 5: Replace The Batteries.
The fifth solution in our article is to check the Arlo camera battery, I know these batteries are rechargeable and can last 3 to 6 months but over time they may get damaged which will require you to replace them.
So if you tried all the previous solutions and your batteries are still not charging, I recommend that you buy new batteries and see if the problem is resolved.
You can find the batteries on marketplaces like Amazon or Walmart or directly from their online store.
Solution 6: Talk To Arlo Customer Support.
The last thing you can do if all the solutions cited in this blog post didn’t work is to contact Arlo technical support and tell them about your issue.
They’ll tell you to send them the solar panel and they’ll check for any hardware issues, if the panel is still under warranty I suggest talking to them to replace it. To have a clear idea about that you can read the Warranty Policy.
Conclusion.
The Arlo Solar Panel is a great option for those who want to keep their battery charged without the hassle of removing it and charging it every three months.
Finally, I hope the tips mentioned in this post were useful to you and I invite you to read other articles on our website if you want to get more troubleshooting tips for your smart home gadgets.
- Does Ring Camera Work Without Subscription? - January 23, 2024
- How To Secure Ring Camera From Hackers? - January 15, 2024
- Ring Camera Not Picking Up Motion? – (Here’s The Solution). - January 11, 2024