


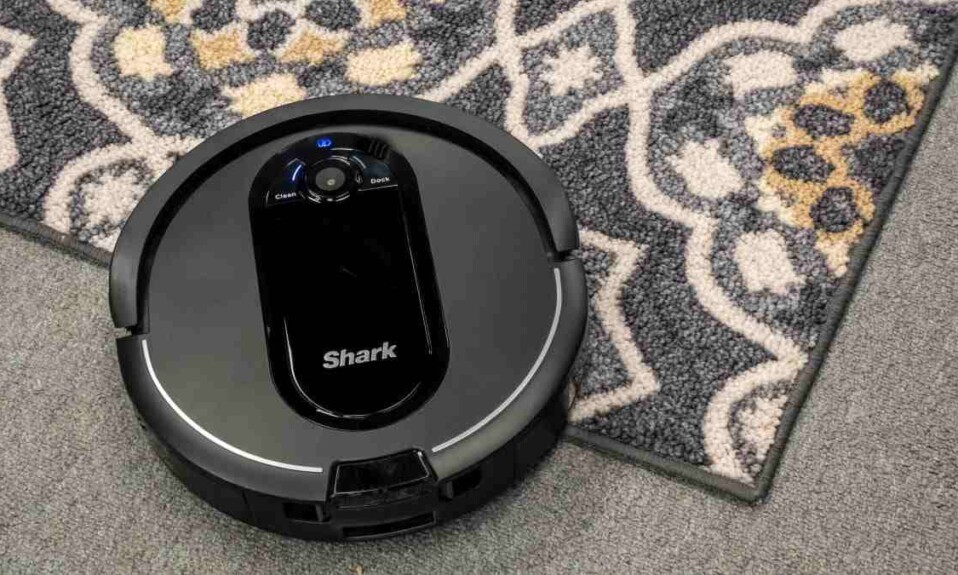
Many people choose the Shark Robot Vacuum to clean their floors and carpets from dirt, dust, and especially pet hair.
This robot has a lot of features to offer such as the ability to set a schedule, the option of voice control through Google Home & Alexa, and IQ navigation to clean row by row, room by room for complete coverage, the device can also recharge and empty the dust bag automatically.
One of the problems that many Shark users complain about is the connectivity issue, sometimes this robot loses connection to the Wifi network, which leads to the loss of the remote control ability and the disappearance of many smart features.
Let me tell you that connection issues can happen with a lot of smart devices and not just with your vacuum and this problem will not reduce how good the Shark robot is.
Many factors can cause your robot vacuum to lose internet connection, including weak Wi-Fi signals, outdated firmware, you are connected to the wrong frequency, internet subscription has expired.
Sommaire
Solutions To Fix Shark Robot Vacuum Connectivity Issues.
In the following sections of this chapter, I will show you all the tips and tricks that you can do whenever your Shark vacuum has connection problems.
One: Renew Your Internet Subscription.
The internet is needed by the robot vacuum to receive orders from the owner, respond to voice commands, allow you to set a schedule, send notifications to your smartphone and more.
When the internet subscription ends all these features will disappear and you’ll not be able to access the robot remotely through your mobile or voice assistant.
So be sure to renew your internet subscription if it has expired, then your device will respond to you automatically.
Two: Power Cycle Your Router.
If the previous solution didn’t work for you, then I recommend power cycling your router, this process may be helpful because removing power to the router refreshes the built-in RAM (internal memory) and allows the device to function almost like a new one.
All you have to do is to follow these steps to power cycle your router:
- Turn off and unplug the router from the outlet or remove and reinsert the battery if you use a battery-powered model.
- Wait for 60 seconds.
- Plug in and turn on the router.
After that try reconnecting your Shark Robot and see if it works fine, if it doesn’t then move on to the next solution.
Three: Update The Firmware & The App.
Firmware has an important role in the proper functioning of the Shark vacuum cleaner, firmware provides basic machine instructions that allow the hardware to operate and communicate with other software running on a device.
So, we understand that a bug in the firmware can cause connectivity issues, which is why the manufacturer always releases new updates to keep their gadgets running smoothly.
If you’re running your Shark vacuum on outdated firmware make sure to update it in order to fix the connectivity issues.
Note: Updating the app is also important as it is responsible for connecting your robot to Wifi.
Four: Connect To The Right Frequency.
Modern routers generally use two frequency bands, 2.4 GHz and 5 GHz, but Shark robots can only connect to the 2.4 GHz channel, they do not work with 5 GHz frequency.
So be sure to switch your router to the 2.4 GHz channel when connecting the robot, and it is also recommended to reduce radio interference by moving devices that operate on the same spectrum such as Microwave ovens, Wireless Wi-Fi speakers, and cordless phones.
Five: Boost Wifi Signals.
Wifi signals must reach to vacuum in order to connect and work properly, if your device is in an area where the signal can’t reach connection problems will appear automatically.
There are many things you can do to increase WiFi signals and the easiest method is to move the router to a location where signals can reach your entire home.
If your house is so big and it’s hard to find the right place to put your router, you can buy a WiFi range extender or install a mesh network to boost the signal.
Six: Reset The Shark Vacuum.
A factory reset is a good solution when the Shark robot is facing connectivity issues, this process will erase all data inside the device and can also fix bugs that are stopping the gadget from connecting to Wifi.
Here’s how to reset the Shark Robot Vacuum from the app:
- Open the SharkClean app on your mobile or tablet.
- Then go to Settings and click on the Factory Reset option.
- The Shark robot will restore itself to its factory settings. (The procedure can take a few minutes)
and here’s how to reset it manually:
- Locate the POWER switch on the side of the Shark robot.
- Switch the POWER switch to OFF.
- Wait for at least 10 seconds before turning the Shark robot back on.
- The Shark robot has been rebooted.
Seven: Reset The Router.
Resetting the router can also be a solution to reconnect the robot vacuum, as it allows the router to re-select the least crowded channel for each frequency, which means a stronger connection to your devices.
Here’s how to reset the router:
- Make sure the router is On.
- Pick a paperclip to hold down the Reset hole at the back of the router for half a minute.
- Release the Reset button and wait 30 seconds for the router to fully reset and power back on.
Note: If you modified the password when resetting the router make sure to update it on all your devices including your smartphone and the Shark vacuum.
Eight: Replace The Battery.
A weak battery can decrease the performance of an electronic device, which can happen with your robot, the Shark battery has a lifespan that decreases with each charge and you must replace it at some point to ensure the high performance of your device.
Important: Sometimes the battery works but the problem is that it does not charge, if this is your case here is an article that can help you: “9 Ways To Fix Shark Robot Vacuum Charging Issues”.
Here’s how to replace the battery on your Shark robot:
- Flip the device so its underside is facing up.
- Use the Phillips #1 screwdriver to remove the two 14mm screws.
- Once you have removed the screws, open the battery lid.
- Hold both sides of the battery using the plastic tabs.
- Use the plastic tabs to pull the battery out.
- Disconnect the battery from the device by pulling it out of the circuit.
Nine: Contact The Technical Support.
The last solution you can do if all the previous ones didn’t solve your problem is to contact technical support and tell them about your issue, they can assist you and show you step by step what to do to reconnect the robot.
Final Words.
Finally, I hope that the article was helpful to you and let me tell you that you can take this blog post as a guide whenever the Shark Robot Vacuum experience connectivity issues.
- Does Ring Camera Work Without Subscription? - January 23, 2024
- How To Secure Ring Camera From Hackers? - January 15, 2024
- Ring Camera Not Picking Up Motion? – (Here’s The Solution). - January 11, 2024


4 Comments
Comments are closed.